With its wide variety of window management tools, Moom makes moving and resizing windows fast, easy, and if you're as geeky as we are, even fun. Scroll down to learn more and see all the main features in action.

Hover the mouse over any window's green—or red or yellow, your choice!—button, and Moom's pop-up palette appears.
Sure, this pop-up has been there for years, but now it's fully customizable. Need more icons? Add up to 61 separate actions to the pop-up, including Folders and Layouts…and even Grids.
If you work with a standard set of apps and windows—and especially if you do so on a laptop that occasionally connects to an external display—Moom's saved layouts make it super simple to restore order to a chaos-filled desktop.
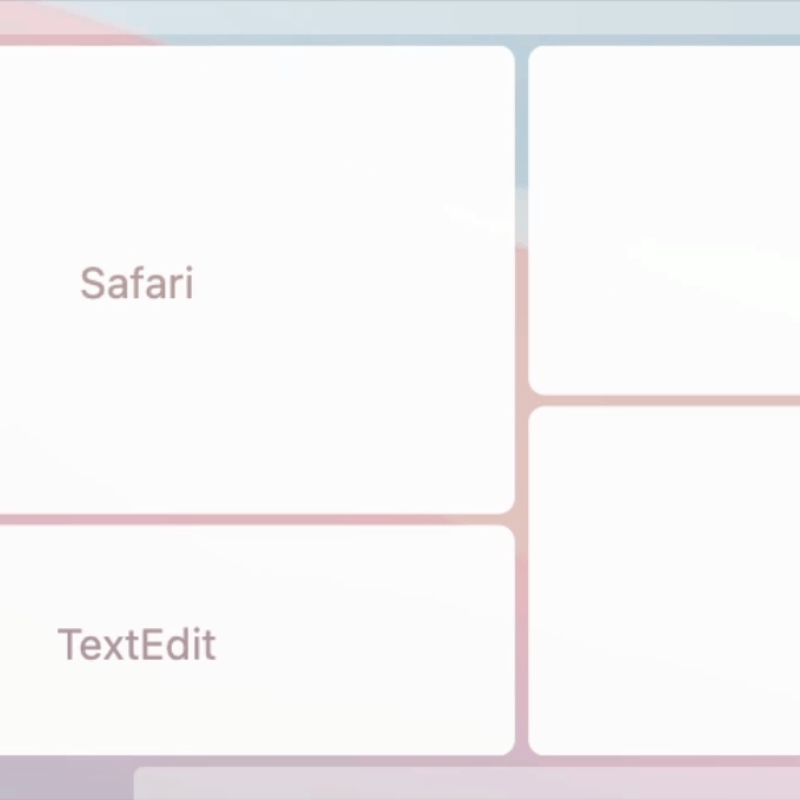
Lay out your windows as you want them, then save a layout. Activate the layout at any time to restore order to chaos.
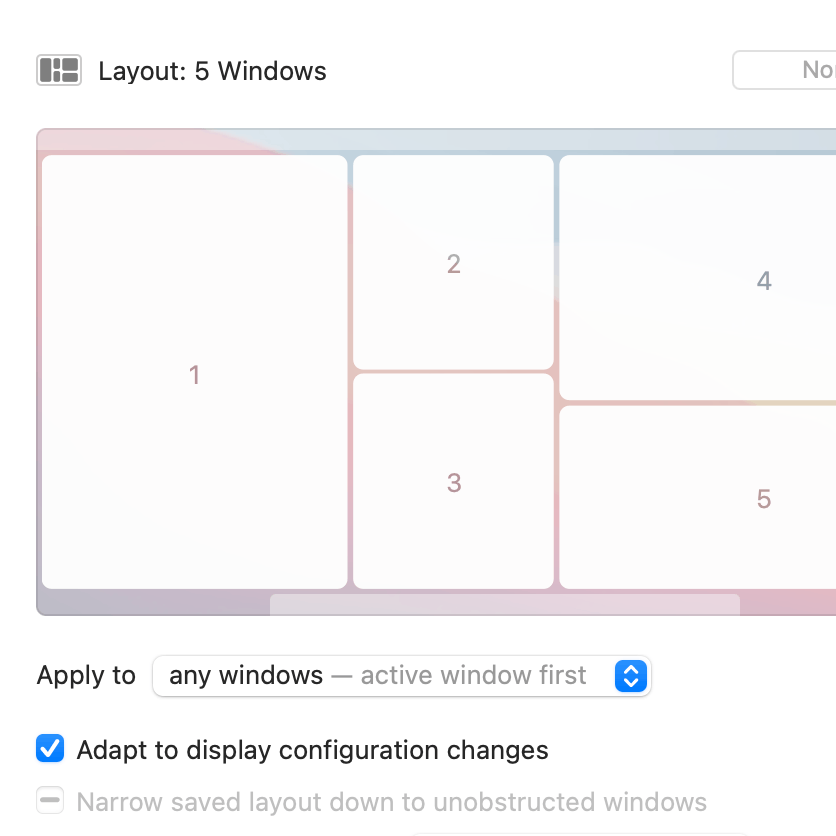
The new "any window" saved layouts are just that: Layouts that affect the N most recently used windows, where N is the number of windows in the saved layout.
These saved layouts are completely independent of apps—they don't associate a set of apps with the saved windows. Save a layout with five open windows, and your five most recently used windows will be moved into that layout's locations when you activate the layout.
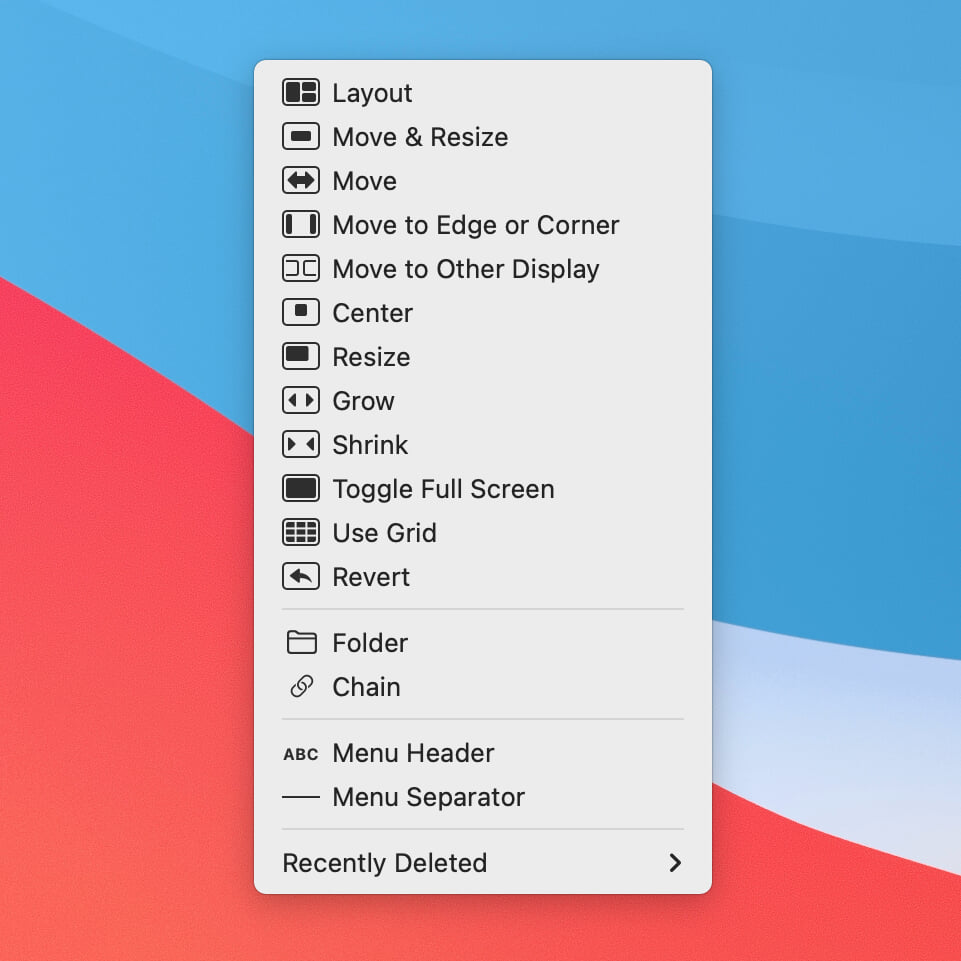
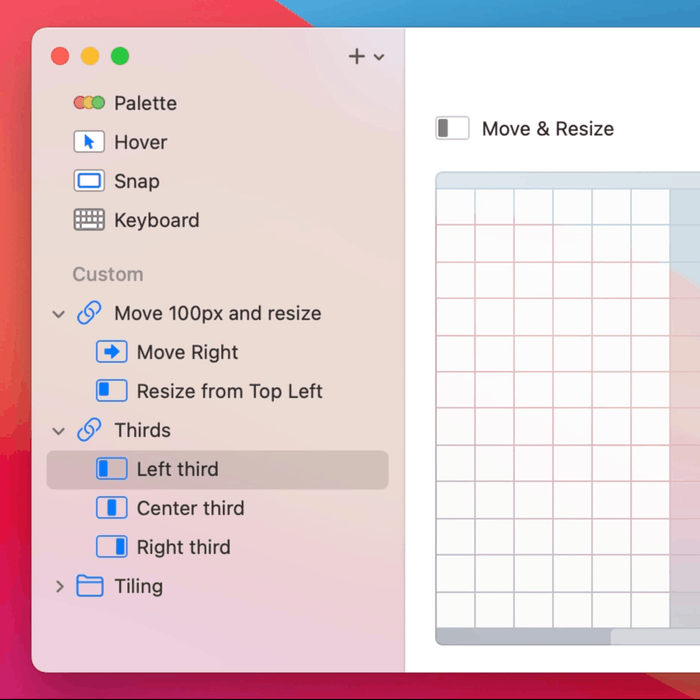
An extensive custom actions list helps you manage your windows quickly and efficiently…and perhaps even funnly?
You can even chain actions together (see below) for some true window management power. And if you have so many custom actions that your collection is a mess, folders and menu separators can clean it right up.
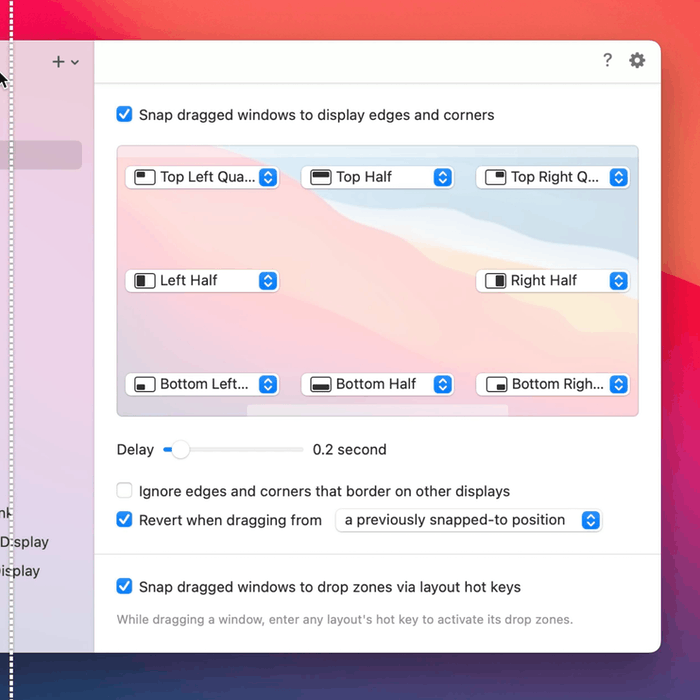
Use Moom's Snap feature to quickly move and zoom windows to certain areas of the screen.
Start by customizing each snap region to do what you want—including adding Folder and Layout custom actions, which mean a single drop zone can support more than one action.
Then just drag a window until your mouse reaches a snap zone and drop the window—it's a snap!
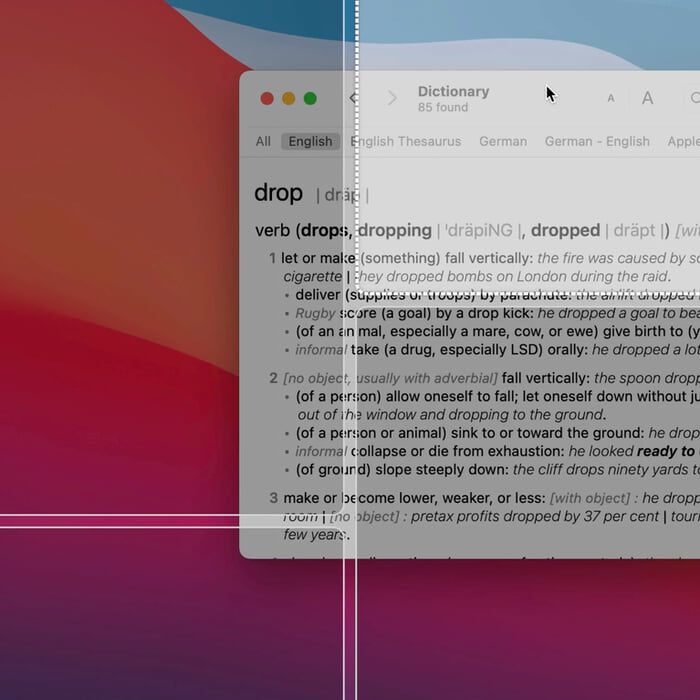
What's a Drop Zone? It's a window's location in a saved layout, and you can now use any saved layout as the source of drop zone targets.
Put a saved layout into one of Moom's window snapping zones, and its window positions become available as drop targets: Drag the window to the snap zone, then drop the window into one of the outlined locations that appear.
Chains are groups of two or more actions that can work in two different ways.
Chains can act as one combined action, enabling you to move a window to another display and set it to a certain size in one step, for example.
Or chains can be loops, where each time you use the chain, the next action in the sequence of chained actions is executed. These can be tracked on a per-window basis, or globally for all windows.
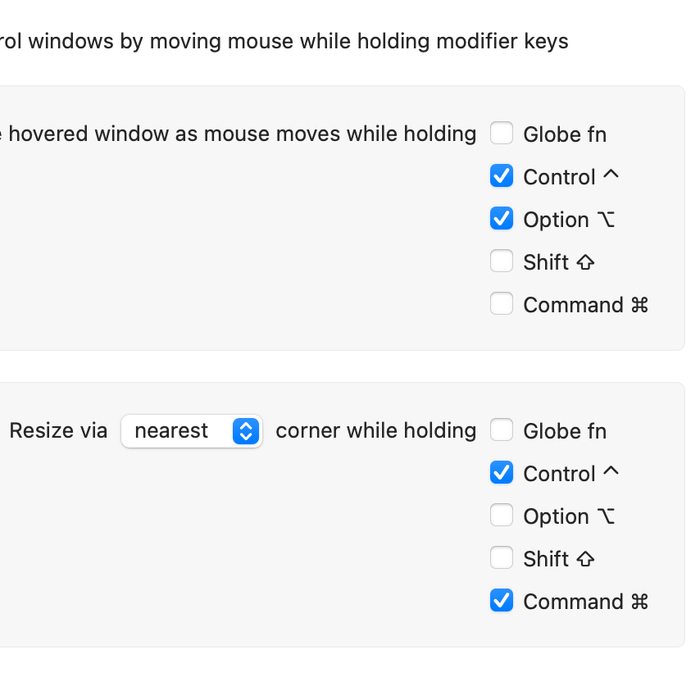
Moom's Hover feature lets you move and resize the window under the mouse—even if it's in the background—by holding down a set of modifier keys while moving the mouse.
You'll be amazed at how much easier it is to move and resize windows when you don't have to hold down a mouse click (or move to a window's edge) to do so. You can resize from any corner, too.
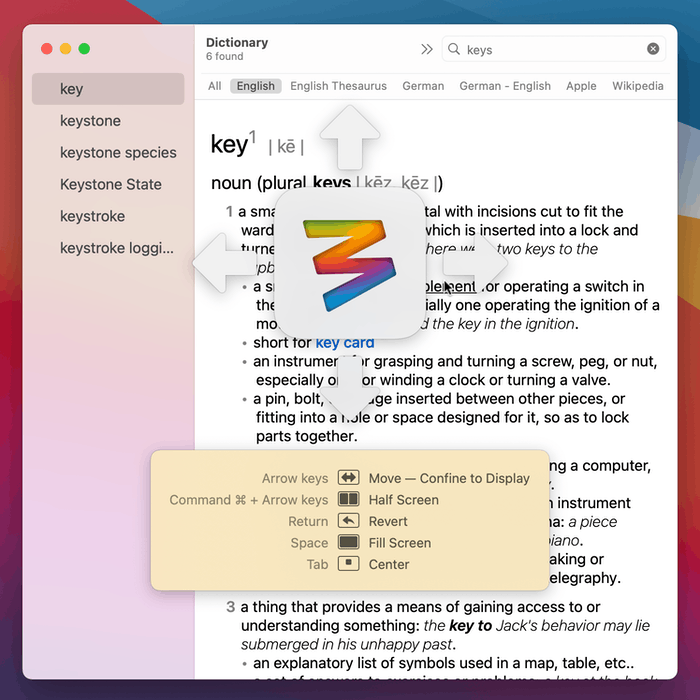
Don't worry, keyboard users—Moom isn't just for those who prefer using a mouse. Enable the Keyboard features, and you can move, resize, center, use the on-screen grid, and much more—all without touching the mouse.
In addition, if you assign a single-key shortcut to a custom action, it will be available in the keyboard controller as well.
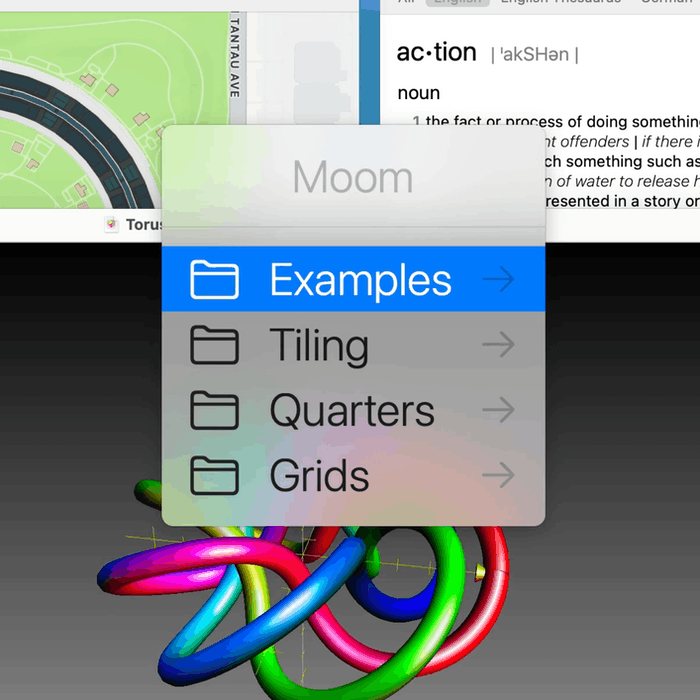
Another way to use the keyboard with Moom is to access your custom actions—as seen in the menu bar menu—via a hot key and on-screen controller.
All of your custom actions are accessible via that on-screen controller, including Chains, Folders, and Layouts.
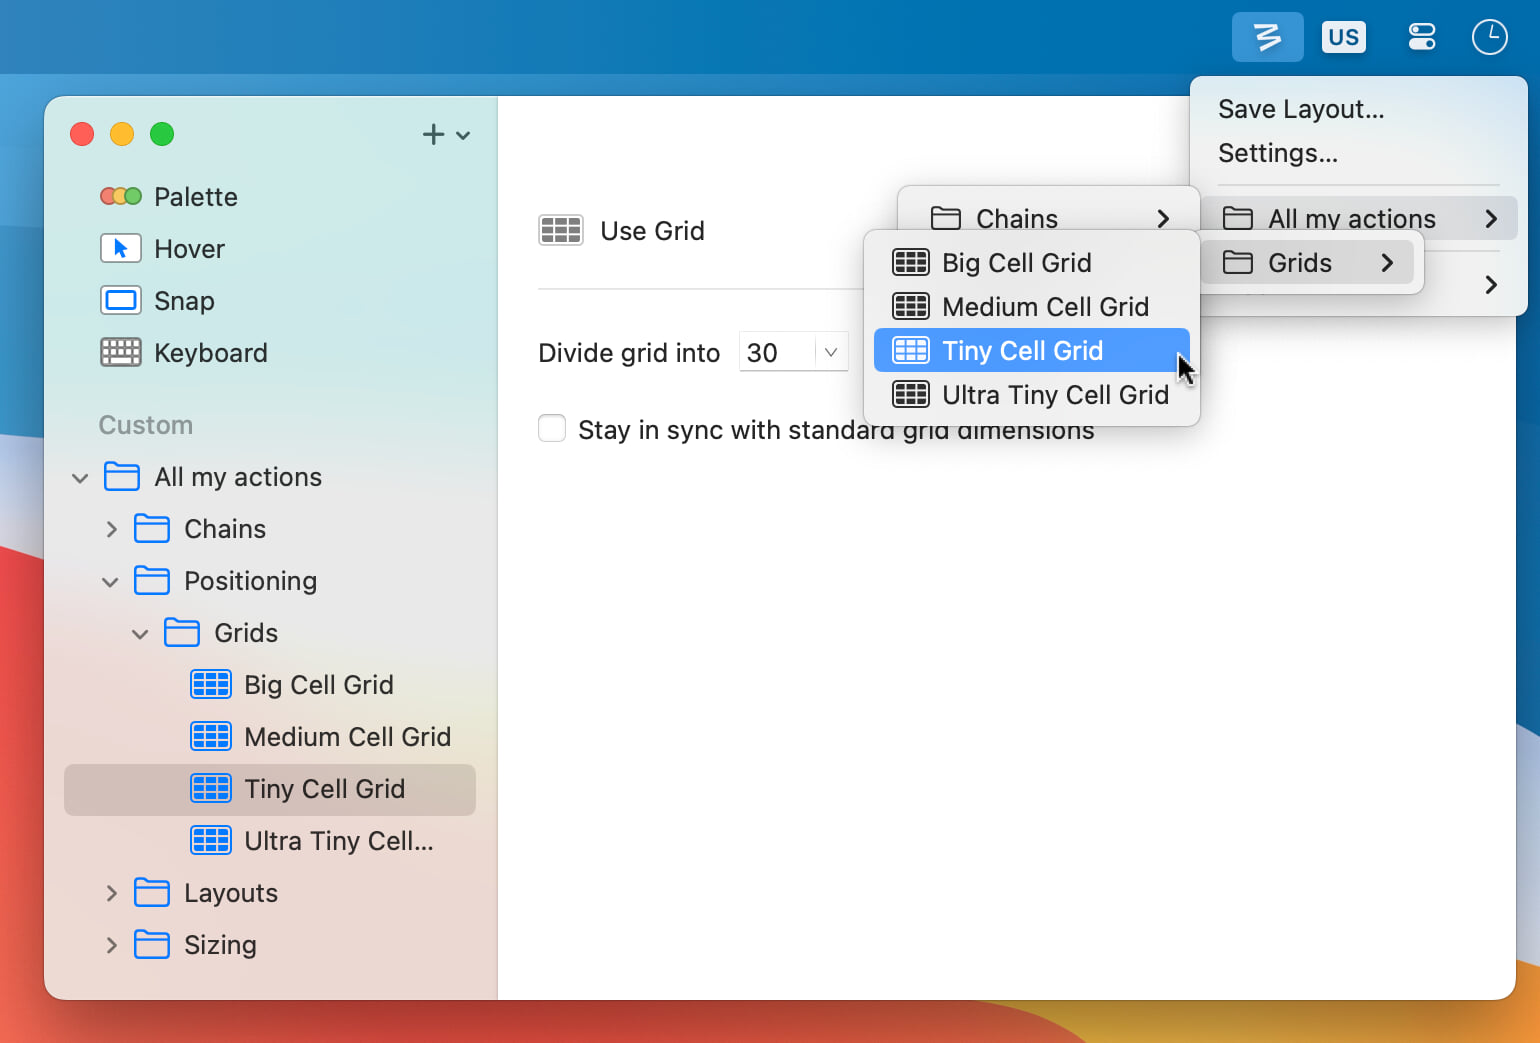
Arrange your collection of custom actions into folders, and nest them as many levels deep as you wish. Add in Menu Headers and Menu Separators to fully organize your Moom collection.
But folders aren't just for organization…try assigning a keyboard shortcut to a folder to see what else they can do.
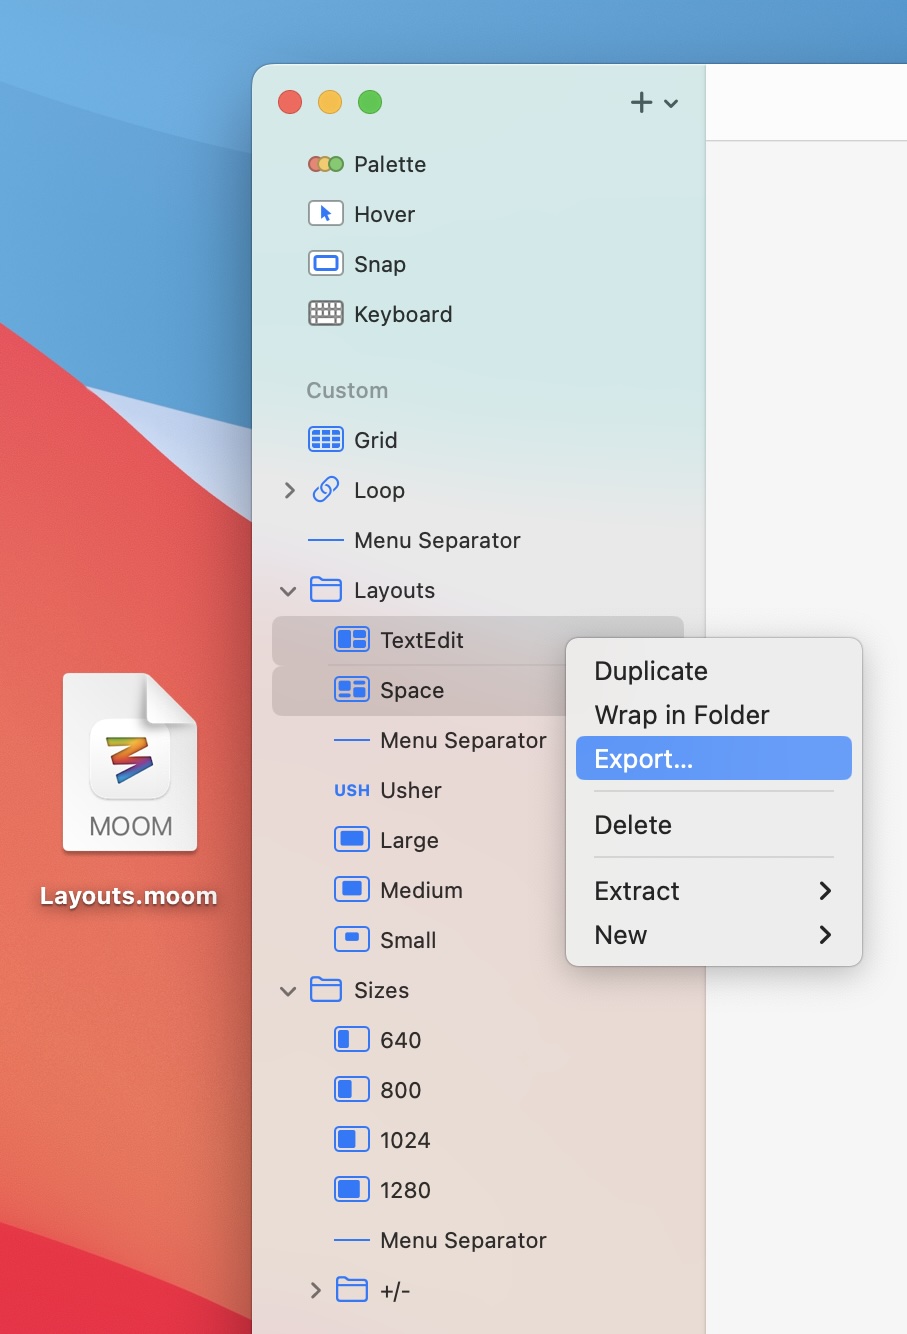
Moom provides an import/export option to make it easy to share your collection of actions.
You can also use the Universal Clipboard to copy actions on one Mac and paste them on another local Mac, or Universal Control to drag a selection of custom actions between the Settings windows on two Macs.