

As you may have guessed, the Appearance tab controls the appearance of the Witch panel. As you change the various settings here, a Witch preview window will appear, showing the impact of your changes. The window will disappear after a fixed interval, and then appear again with your next change.
Scroll to the numbered areas to read about the settings within that area.
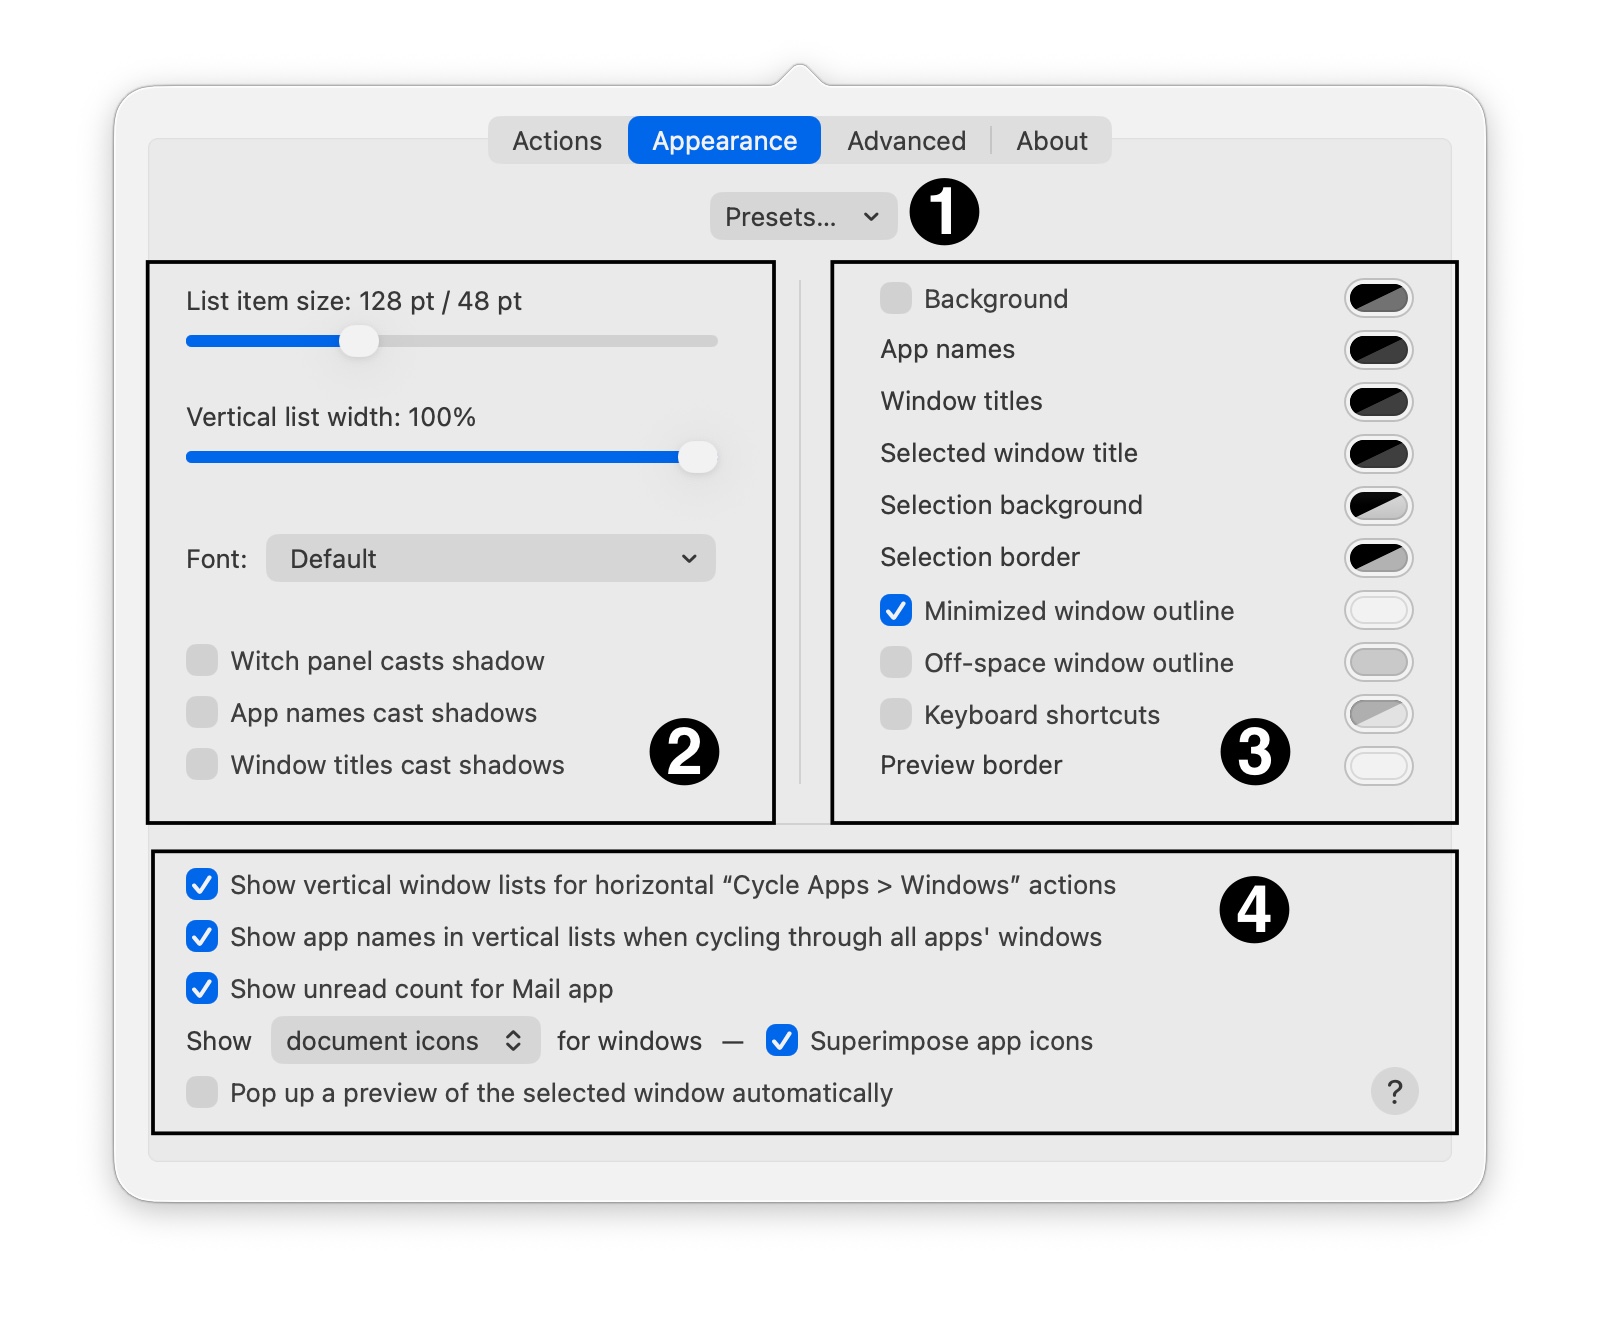
Presets
1
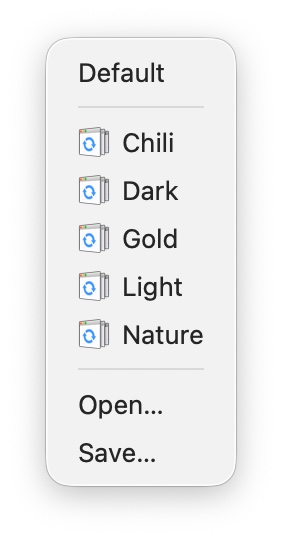 The menu lets you choose from pre-made or user-defined presets for the switcher panel. Witch comes with a number of different presets, and you can also save your own. The bundled options include the very-bright Chili, business-appropriate Dark, bold and out there Gold, easy-on-the-eyes Light, and colorful Nature.
In Mojave and later, Witch will automatically select the Light or Dark theme based on your chosen macOS appearance, but you can always override the selection and use whichever preset you desire (or create your own).
Each of these will change the colors and shadows of the panel, and show a little preview when selected. To go back to the standard appearance, select Default from the pop-up menu.
If you'd rather create your own look, set everything up the way you want it, then use the Save button at the bottom of the Presets pop-up menu to keep your layout forever. If you do customize your layout, make sure you save it before you open another preset—if you don't, all your custom work will be gone for good.
You can also use the Open button to install layouts transferred from other Macs, for example.
By default, layouts are saved in your user's Library > Application Support > Witch > Layouts folder. Remove entries from the list by deleting them from that folder in Finder. Apple hides your Library folder by default; in Finder, hold down the Option key then choose Go > Library from the menu bar.
Sizes, Fonts, Shadows
2The List item size slider affects the size of icons within the switcher panel. The first number is the maximum size of icons in a horizontal switcher; the second, the maximum size for icons in a vertical switcher. Note that these are maximum values, and Witch will scale them down as necessary to make everything
If you pick a combination of list item size and vertical list width that's too large to show all windows within the Witch switching panel, Witch will first try reducing the font size to make all windows fit. If that's still not enough, Witch will then slide its switcher panel up and down the screen as you move between windows in the list, to insure that you can access all windows.
The Vertical list width slider controls the relative width of the Witch panel. Move the slider left to make the panel narrower; move it right to make it wider. With narrower panels, Witch will try its best to intelligently shorten both program and window names to show you as much usable information as possible in the allowed space.
Click the pop-up menu to set the font used in Witch's switcher panel. The top choice—Default—will use the system-provided default bold font, or you can choose from any font installed on your Mac. The first time you click the Font pop-up menu after opening Witch's settings panel, it may take several seconds to appear. Subsequent clicks will be much faster, until you close Witch's settings panel.
The Font pop-up menu includes a Font Smoothing entry; the options here will affect the apparent thickness of your chosen font, and here's what each setting does:
- System Settings default: Witch will reflect the value of the "Use LCD font smoothing when available" checkbox at the bottom of the General tab in System Settings. If it's enabled there, Witch will use it, too.
- Enable: Regardless of the system-level setting, use font smoothing. Fonts will appear thicker when used with font smoothing.
- Disable: Regardless of the system-level setting, do not use font smoothing. This will make fonts appear thinner.
Depending on your version of macOS/OS X, and which font you're using with Witch, this setting may not have any impact. We suggest leaving it on the default setting, unless you know you want to change it.
The next three entries—Witch panel casts shadow, App names cast shadows, and ;Window titles cast shadows—determine whether these items cast shadows in the switcher. If you're using a light-colored background, you may prefer a shadow to help with readability, for example.
Colors
3This section gives you full control—and we do mean full control—over the colors in the Witch switcher panel. To modify any color, click on the small box next to its label, and you'll get the standard color picker…
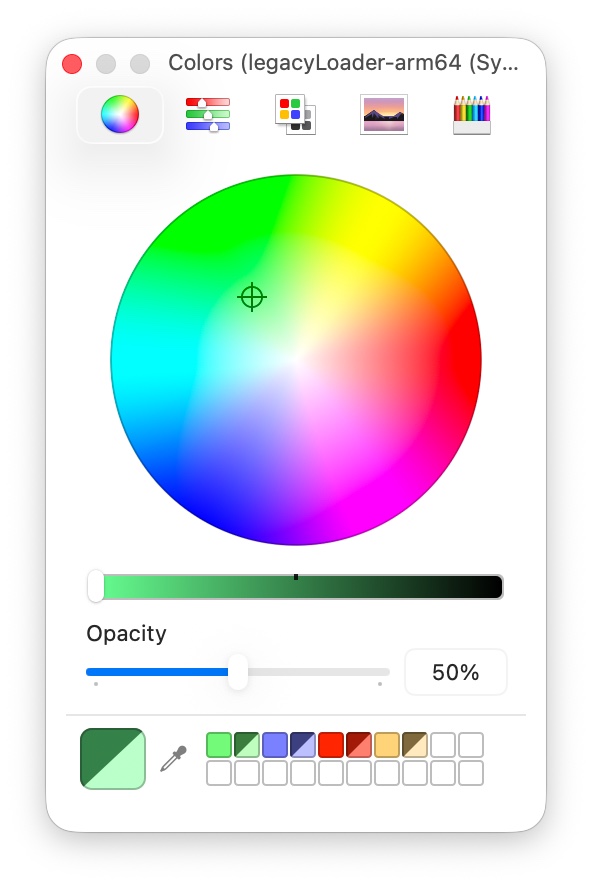
You can set both the color and the opacity for every item listed—background color, app name color, etc.
If you set a custom background color, you will no longer get the "blurred translucent" background you get when there's no background color (even if your chosen color is translucent). If you want the blurry background, you'll need to keep the default background color.
If you check the Outline off-space windows with color checkbox, Witch will mark windows on other spaces with a dotted outline, like this:

The Outline minimized windows with color checkbox does the same thing, but for minimized windows. As with everything else in this section, you can use the color picker to change the color of these outlines.
Add a checkmark to the Show keyboard shortcuts with color option, and Witch will remind you about its 10 easy-to-use keyboard shortcuts each time you call up the panel.
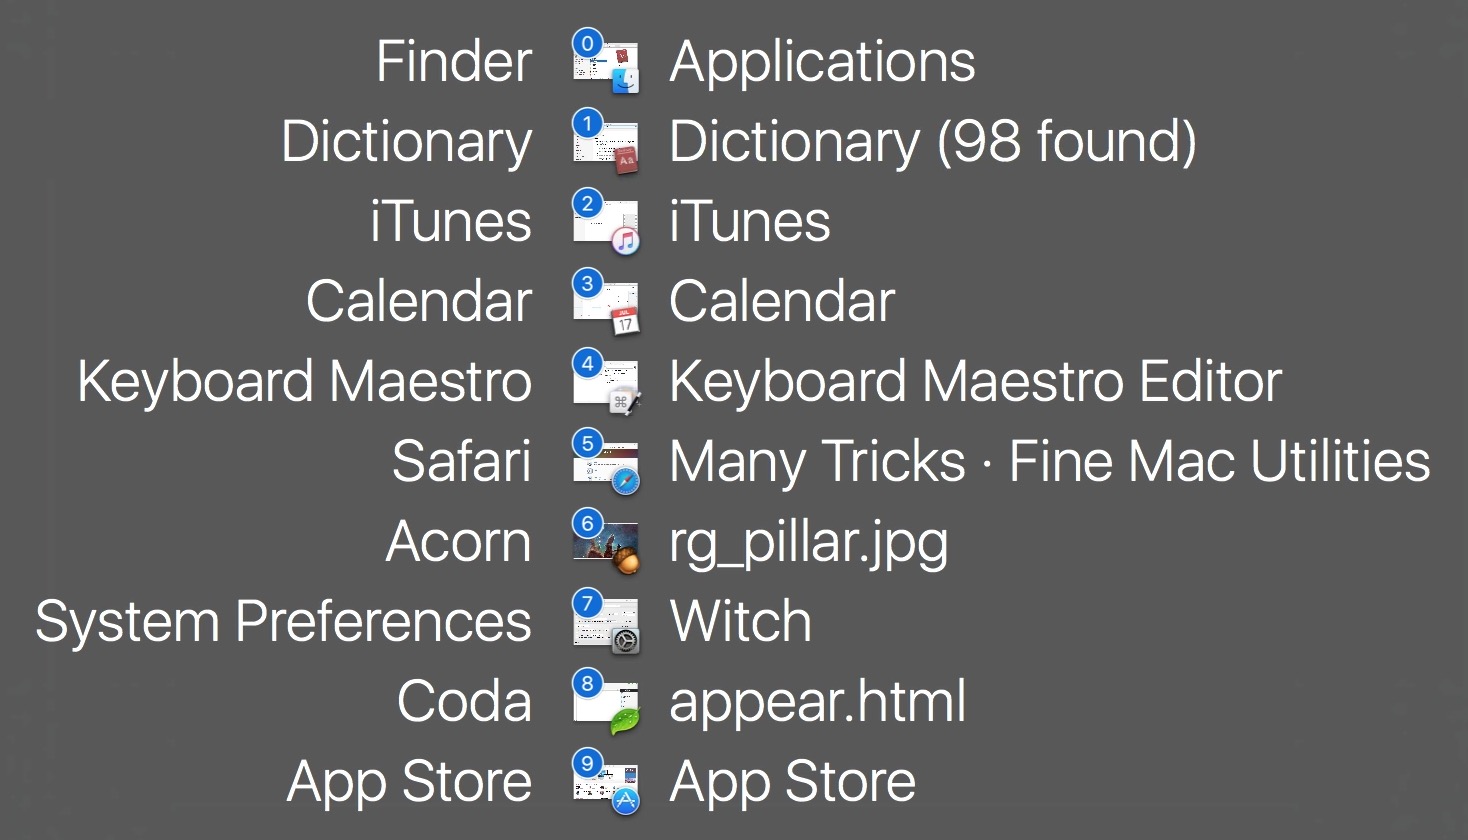
Just use the number keys for fast access to the first 10 entries on the switcher panel.
Witch may also show some applications' badges on their icons in the Witch switcher. Witch natively supports Mail's badges, for instance, and includes an easy way—by adding a couple lines of code to their apps—for other developers to send their badge information to Witch.
If your favorite app's badges don't appear in Witch, try sending feedback to the developer, asking them to support badges in Witch. You can send them this URL, which explains exactly how they can add support for Witch in their app:
https://manytricks.com/applicationiconheraldIf they'd like our help in making their badges work in Witch, we can provide assistance (but it's really easy, from a technical perspective).
Miscellaneous
4The first option, Show vertical window lists for horizontal "Cycle Apps > Windows" actions, is quite a mouthful. It's enabled by default, but what does it mean?
It means that if you're using a horizontal window switcher, and you have some form of Cycle Apps > Windows as your action, then if you drill down into windows, they will be shown vertically, not horizontally. When unchecked, you'll see horizontal window lists with horizontal switcher layouts.
The main advantage of this "hybrid" mode is that you get window details that aren't visible in the purely-horizontal view. For example, here's how the window list would appear for two windows in Safari in vertical mode:
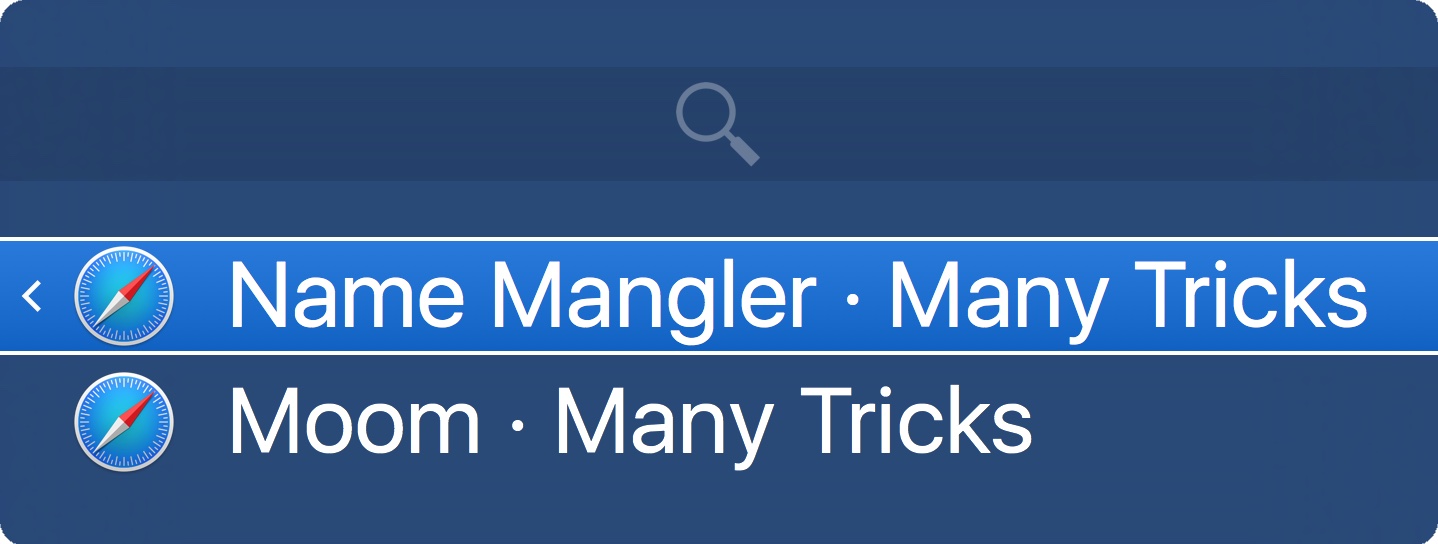
Now here's those same two windows, seen in horizontal mode:
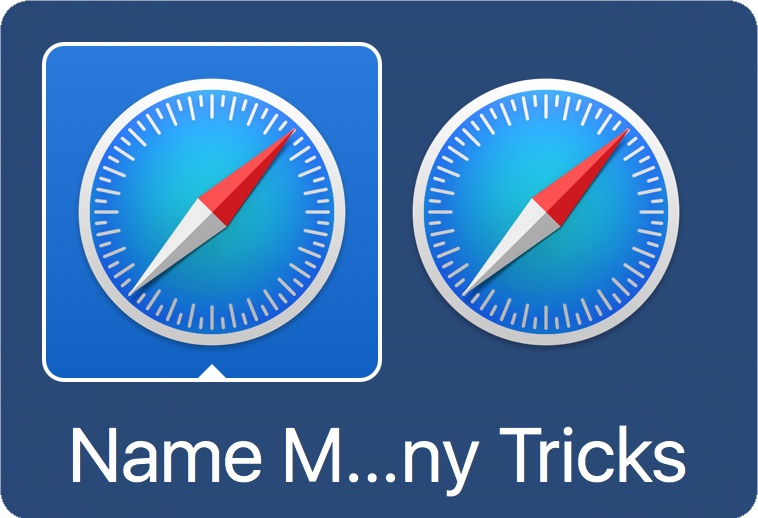
In vertical window, both windows' titles are plainly visible, whereas horizontal mode shows only a portion of the first window's name.
Remove the checkmark next to Show app names in vertical lists when cycling through all apps' windows, and Witch will only show window titles, not application names and window titles.
The Show unread count for Mail app checkbox lets Witch display Mail's unread badge count on its icon. Disable this if you'd rather not be reminded of how far you are from "inbox zero."
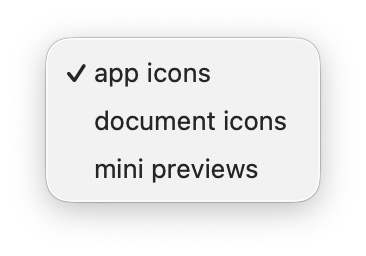 The menu controls the type of icon seen in the Witch panel. By default, Witch will show app icons, i.e. the icon for the app associated with each window. You can instead choose to see document iconsor mini window previews. The mini window previews are just that—a miniature version of the window's actual appearance.
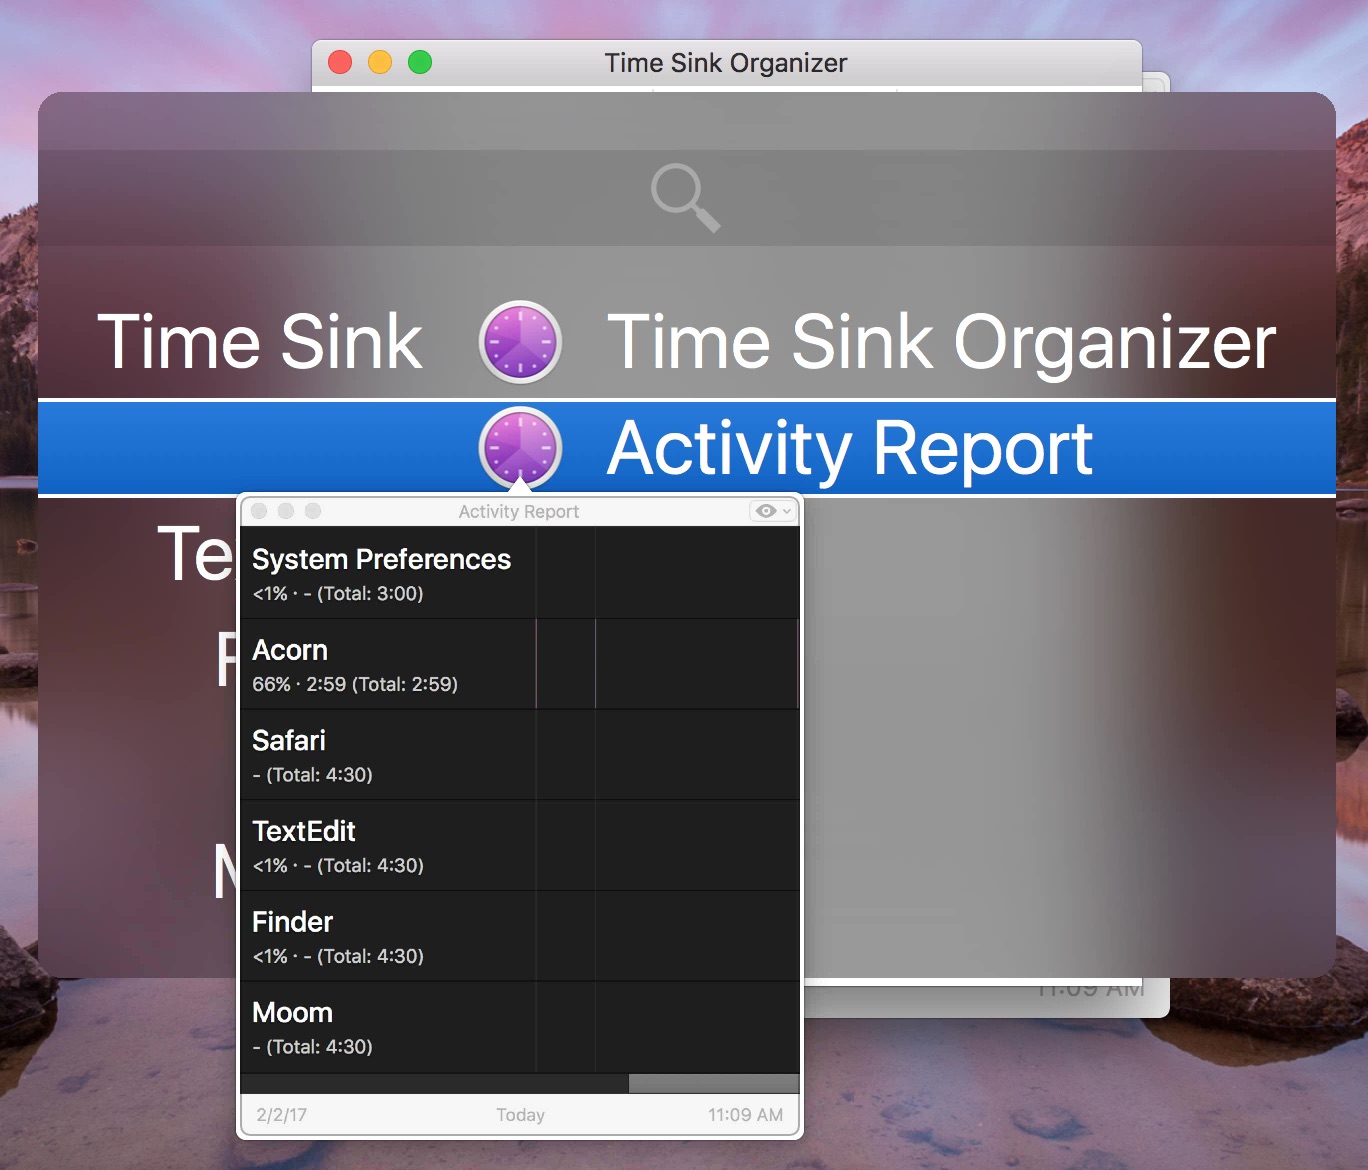
If you enable the Superimpose app icons checkbox, you'll also see a small icon for the application when using the two non-app-icon modes. Here's how all three of the options appear in the switcher, with the Superimpose option enabled. (Note that this screenshot was taken using the switcher in horizontal mode, which has much larger icons than does vertical mode.)
Using mini window previews may slow Witch, depending on your action settings. If you have Witch set to switch windows, and to show tabs as windows, for instance, Witch has to grab every window's preview before displaying the panel. With lots of open windows, this could slow Witch.
If, on the other hand, you're using an action that shows apps first, and lets you drill into windows/tabs, using mini window previews shouldn't be much slower, because Witch will only have to grab a few previews at a time when you drill down into an app.
Witch can display previews of each window in its list; if you'd like these to automatically show up just check the Pop up a preview of the selected window automatically box.
Once checked, a slider appears that controls the delay (from one tenth of a second to five seconds) before the preview automatically appears. Note that there are some windows that Witch is unable to preview: Those that have been hidden or minimized. If you try to preview such a window, you'll see one of these images instead:
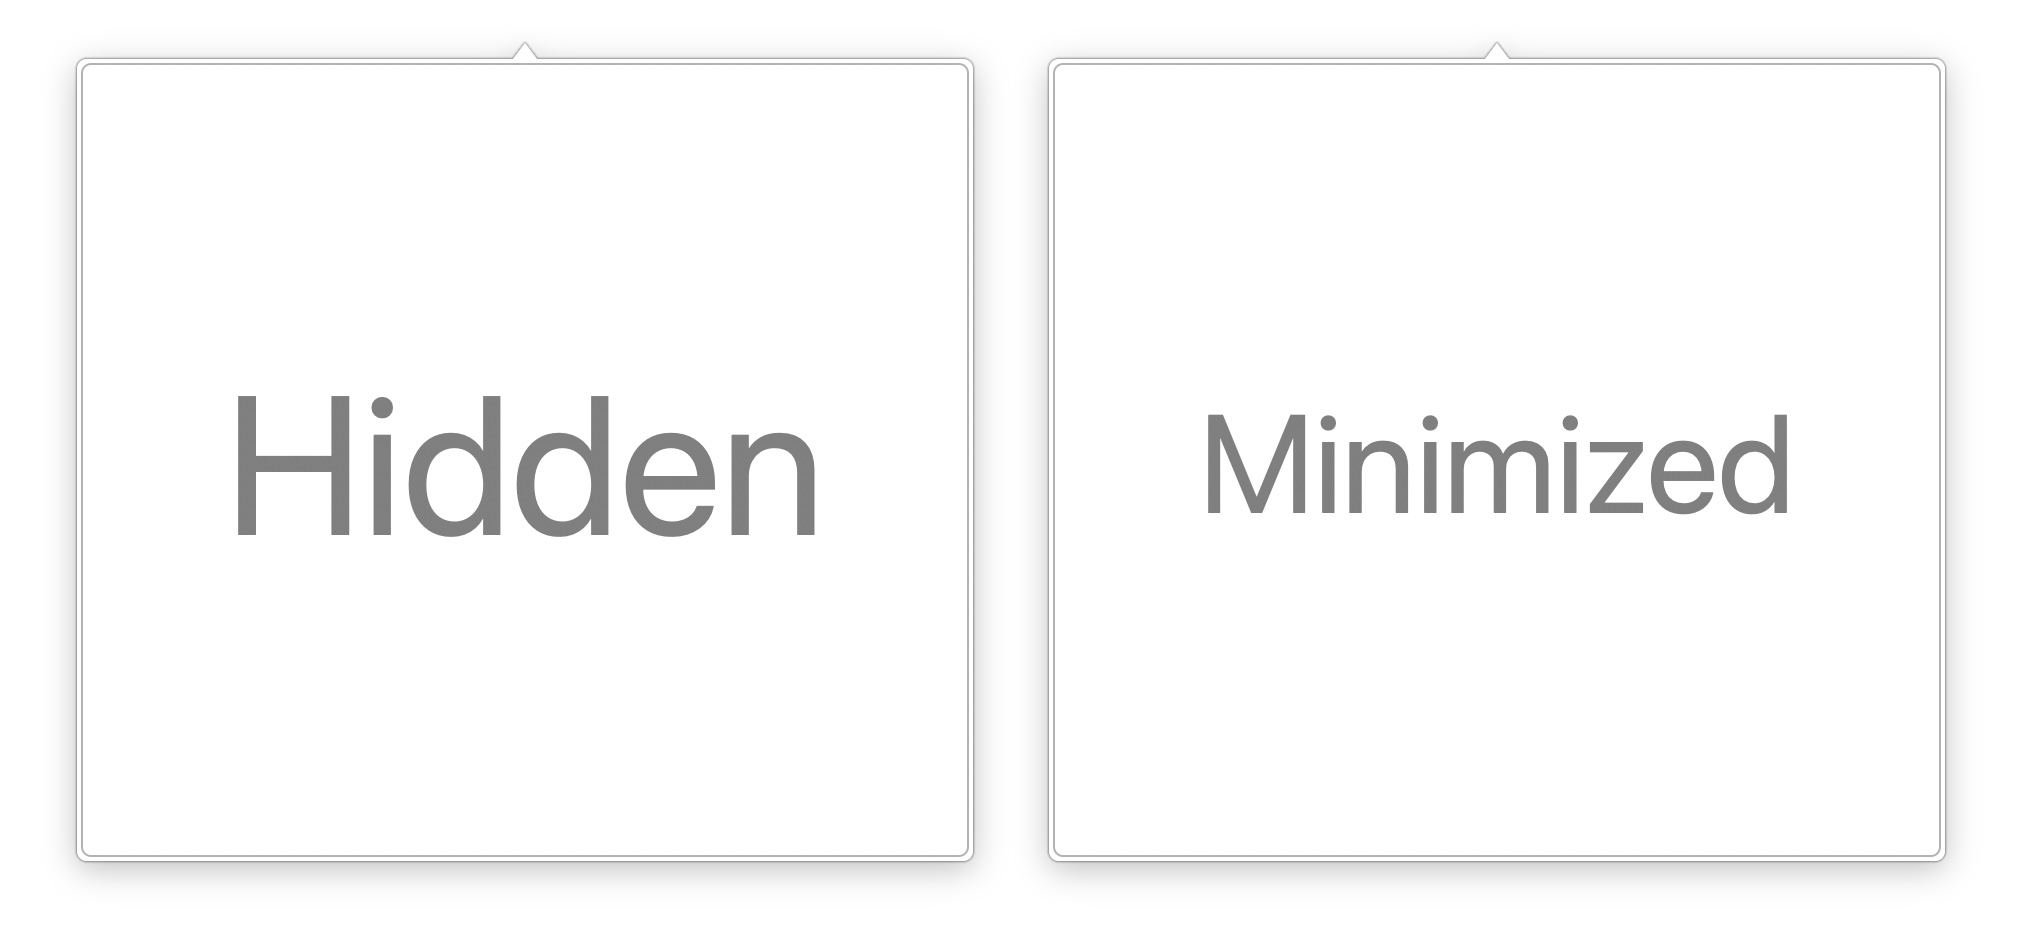
There is an additional similar image you may see: One containing nothing but a question mark. If you see such an image, it means Witch couldn't get any info from macOS about the chosen window—Witch can't get a preview, nor can it tell if the window is hidden or minimized, so Witch just shows a question mark instead.
Regardless of the setting of the Pop up a preview of the selected window automatically checkbox, you can always pop up a preview window by pressing the Space Bar with a window selected in the Witch switcher panel. If you don't use previews regularly, but want them on demand, uncheck this box and then just use the Space Bar to view previews when needed.