

Time Sink's menu items can be accessed (obviously) when Time Sink is running as a normal application. They can also be accessed when Time Sink is in menu bar mode (see the menu bar mode section of General help for more on Time Sink's menu bar mode). When in menu bar mode, Time Sink's menus are accessed by clicking the small gear icon at the top of the window.
Regardless of which mode you use, here's what you can do with Time Sink's menus.
Time Sink
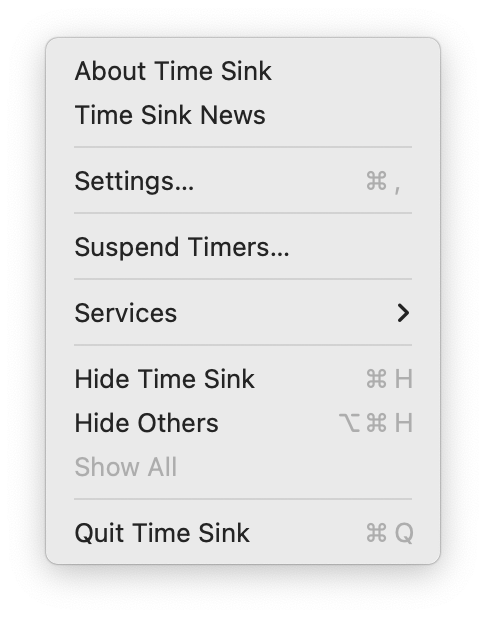
Most of the menu items here are standard in most any macOS app: , , , / and all do exactly what you'd expect them to do. The only item unique to Time Sink is , which you may not even see listed—it won't appear unless you've created a global hot key to suspend and resume Time Sink (see Settings for more help with the suspend/resume function.)
When suspended, if using Time Sink as a normal application, the Organizer window will remind you that it's suspended and not tracking anything:
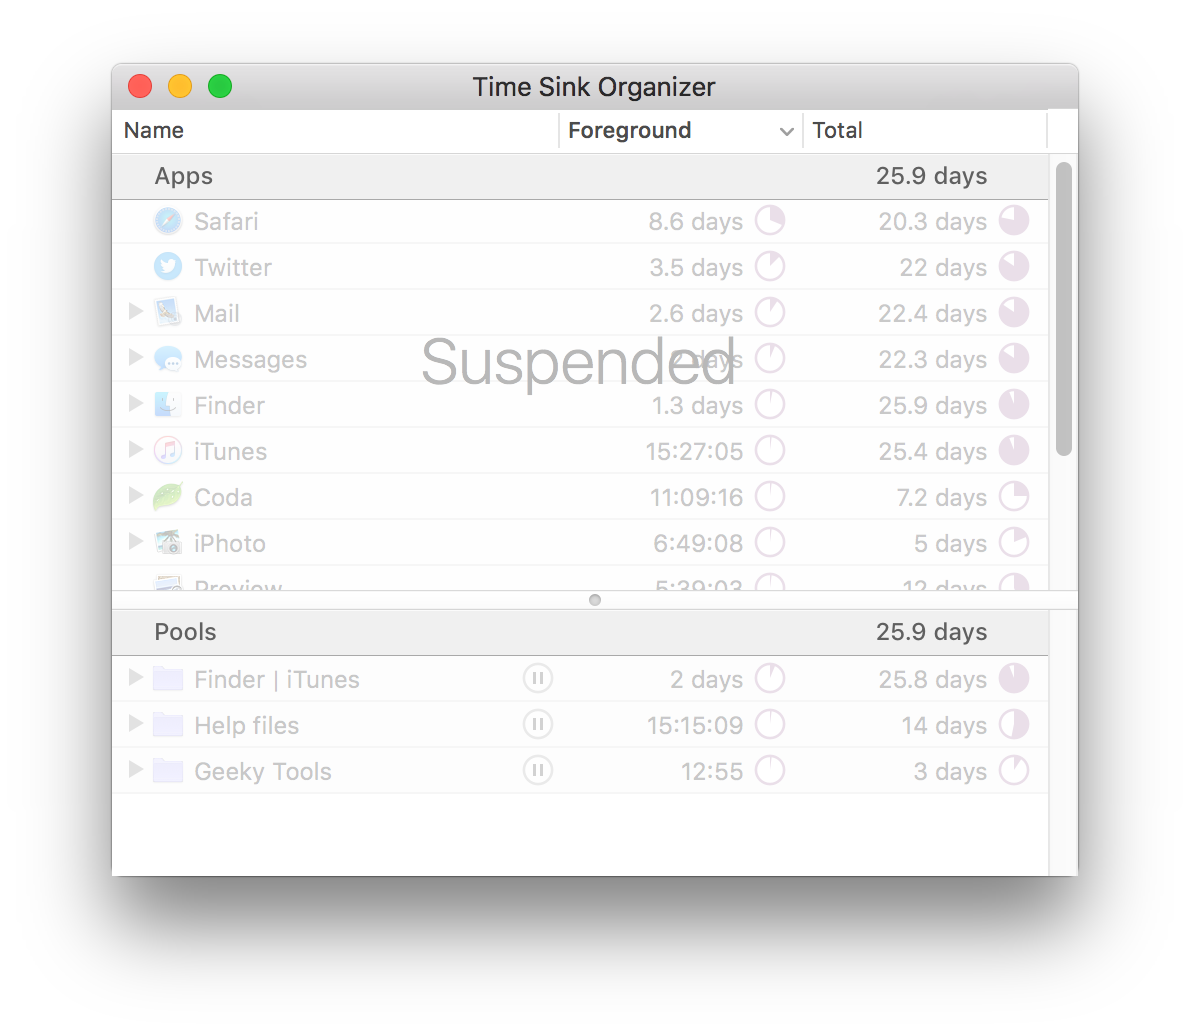
Time Sink's Dock icon will also gray out. If you're using Time Sink in menu bar mode, the menu bar icon will turn shockingly bright red. These changes are to remind you that Time Sink is suspended, so you don't accidentally leave it that way all day.
File
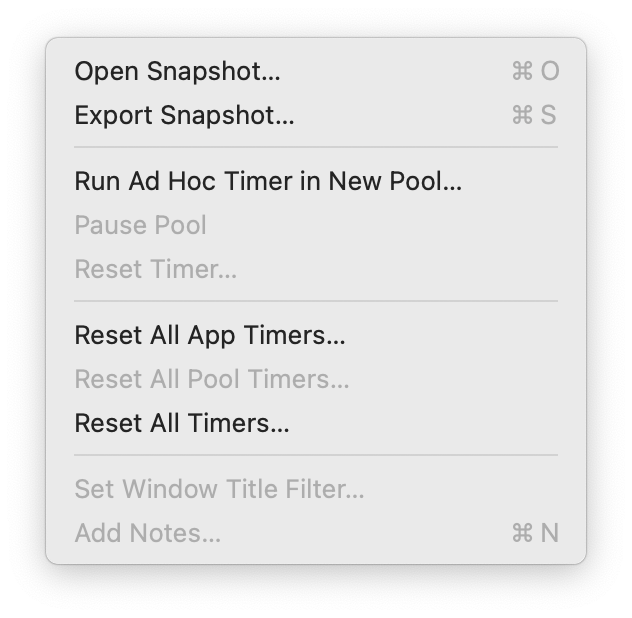
Time Sink has the ability to create snapshots, which dump your tracked data into a file (see Exports for more about exports). The menu item opens a previously-created snapshot, while creates a new snapshot.
will start a new ad hoc timer in a pool you specify after selecting this menu item. (An ad hoc pool is just a timer that runs and can be defined as anything you like, i.e. "getting coffee." See the ad hoc timers section of help for more about these timers.
(and its reverse, will pause the currently-selected pool in Time Sink's Organizer window.
The option will reset the currently-selected timer in Time Sink's Organizer window. (You can also do this via the contextual menu for the timer in question directly in the window, and that's probably the better way to make sure you reset the correct timer.)
The next three options will , , or (app and pool). There is a confirmation dialog after selecting any of these items, and the action is undoable, in case you do make a mistake.
lets you merge certain windows together based on similarities in their window titles. This feature is also available via contextual menu, and it's fully explained in the combining windows section of help.
is disabled unless you've selected the top-level item in the Pools section of the Time Sink Organizer window; adding a note lets you attach some descriptive text to each pool. (Also available via the contextual menu.)
Edit
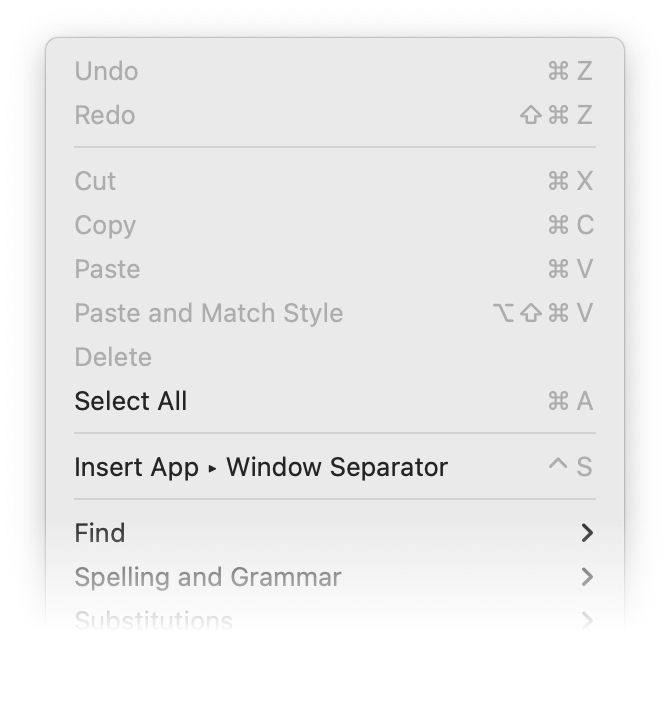
The vast majority of the entries in the Edit menu are standard across many macOS apps; they're there by default, and most don't have any use in Time Sink. The one exception is the menu item.
This item will be grayed out unless you have Time Sink's Settings window open and your cursor is in the "Ignore windows titled" section of the Ignore tab. In that specific instance, this menu item inserts the small arrow (▸) needed to ignore a window within a given app, i.e. Safari ▸ xzyabc.
Of course, you can also type that character by pressing Control-S, which might be a lot easier.
View
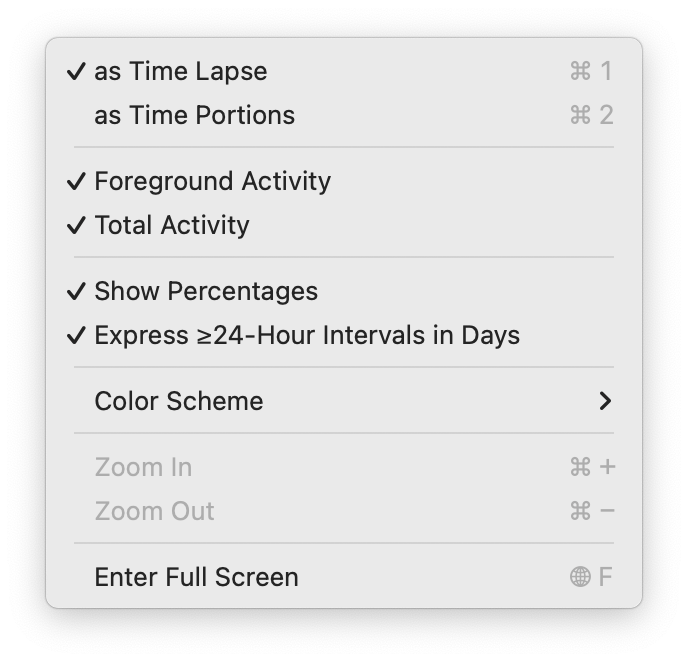
The first two options, and , control the appearance of the Activity Report window. Time Lapse shows your actual usage of each app over time while Time Portions lumps all usage of each app together, so you can see which apps are taking most of your time.
The next two options, and , control what data is used in the Activity Report; you can check one or the other or both, but at least one of the two must be checked.
(These first four options will be grayed out if the Activity Report window isn't the active window.) Please see Reports for more help with the Activity Report section of Time Sink.
If you check , then Time Sink will show pie charts for usage, instead of actual time values. Check , and hours will disappear from Time Sink, replaced by full and partial days.
This image shows the effect on the Organizer window (the settings also apply to the Activity Report window) with both settings checked (frontmost), no settings checked (middle), and with just the "over 24 hours" setting checked (backmost).
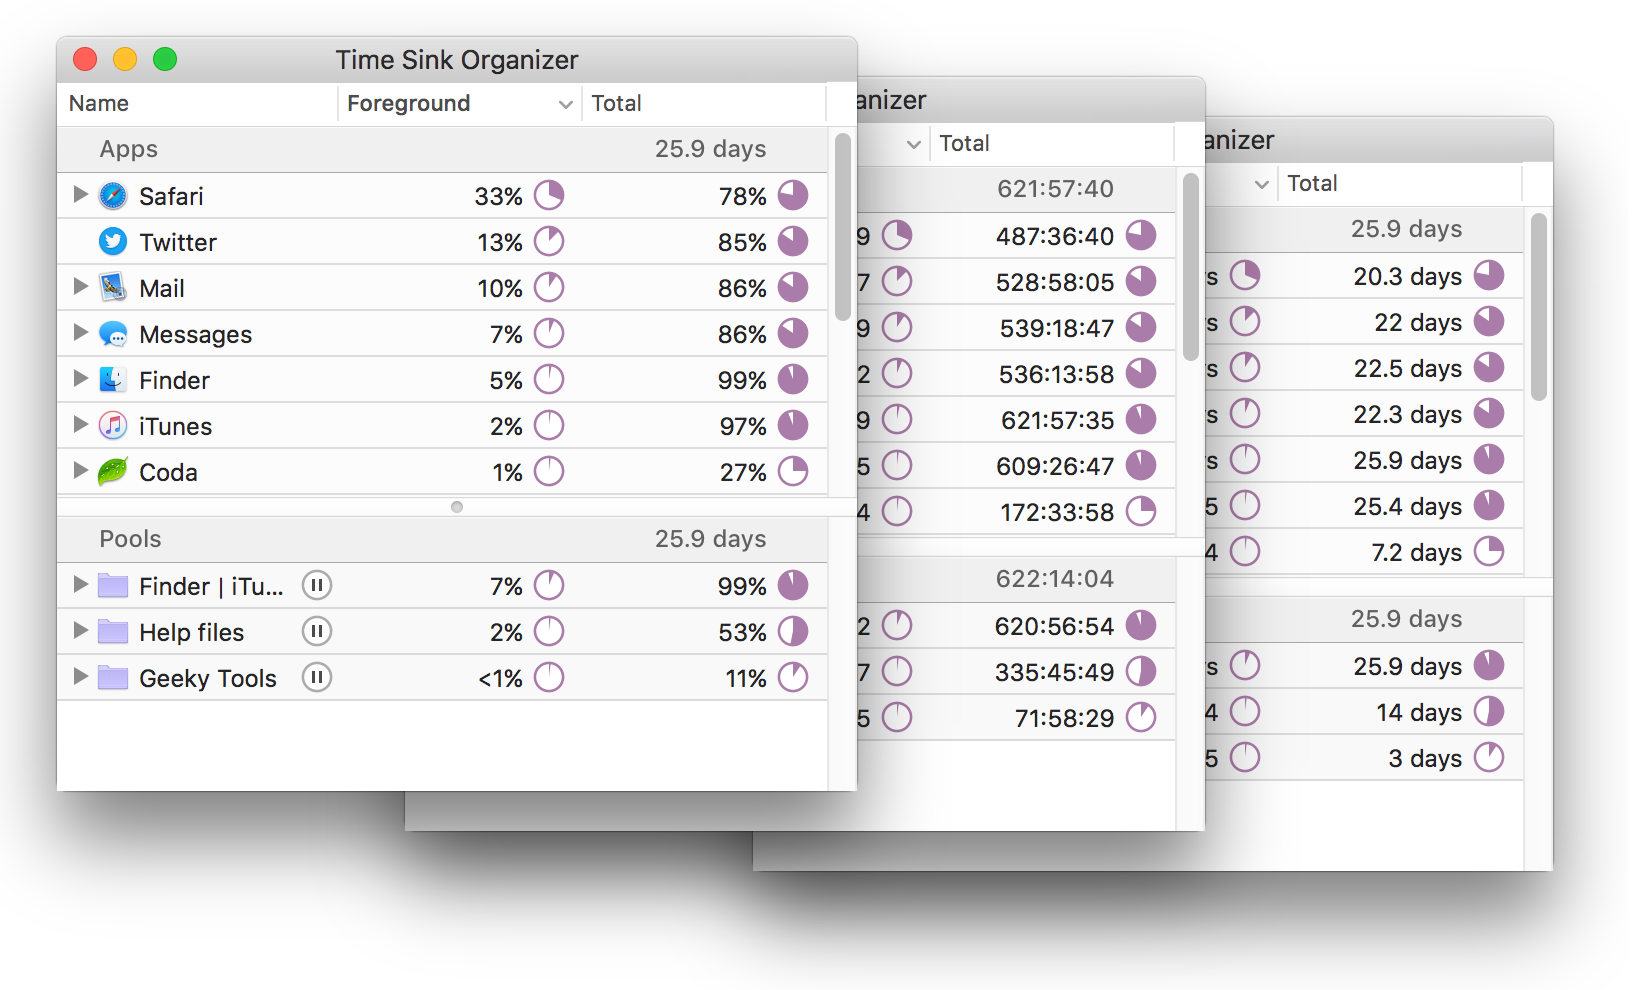
Choose whatever combination of these two settings makes the most sense to you and your workflow.
The menu option displays a sub-menu with three different appearance settings: , , and . These settings mainly affect the Activity Report window, as seen in the following image.

The rearmost image is set to the Original color scheme; the middle layer is Dark, and the frontmost is Light. The Dark and Light schemes will use the highlight color you've set in System Settings > General (blue in these screenshots).
The and items will be grayed out (non-usable) unless you're reading help—as you are now! In Help, you can use these menu items (or their handy keyboard shortcuts) to increase or decrease the size of the text you're reading.
Finally, the menu item sets either the Organizer window or the Activity Report window to full screen mode.
Window
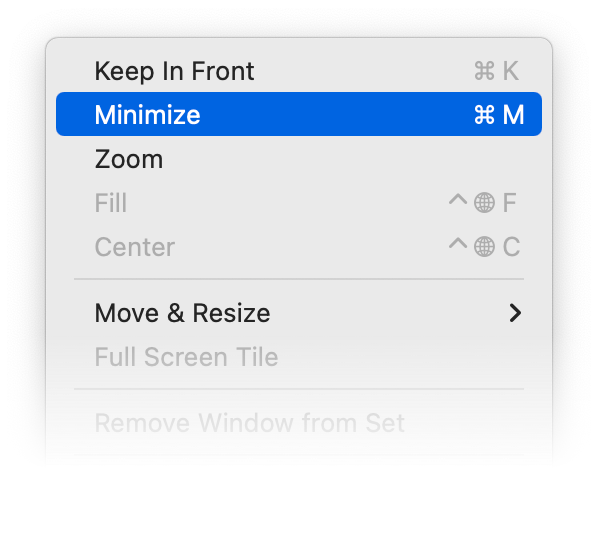
Like the Edit menu, most of these menu items are standard to all Mac apps. The top section contains the usual Mac window management options, with one exception. If you enable , you can make the Organizer and/or Activity Report windows float above all other windows. (You can set this value independently for each window.)
The grayed-out tab-related menu items are standard features of Sierra's Window menu; they're grayed out because the concept of tabs doesn't apply in Time Sink. The final few items let you bring all of Time Sink's windows to the foreground, or any one specific window.
Help
Lastly, there's a Help menu in Time Sink; its only items are a system-standard search box (to search Time Sink's menu commands) and an entry to open Help. Given you're currently reading help, we'll assume you found and used this menu item without any assistance.