

Select → , or press Command-Comma, to open Time Sink's Settings window. It has four sections: General, Ignore, Report, and Export.
General
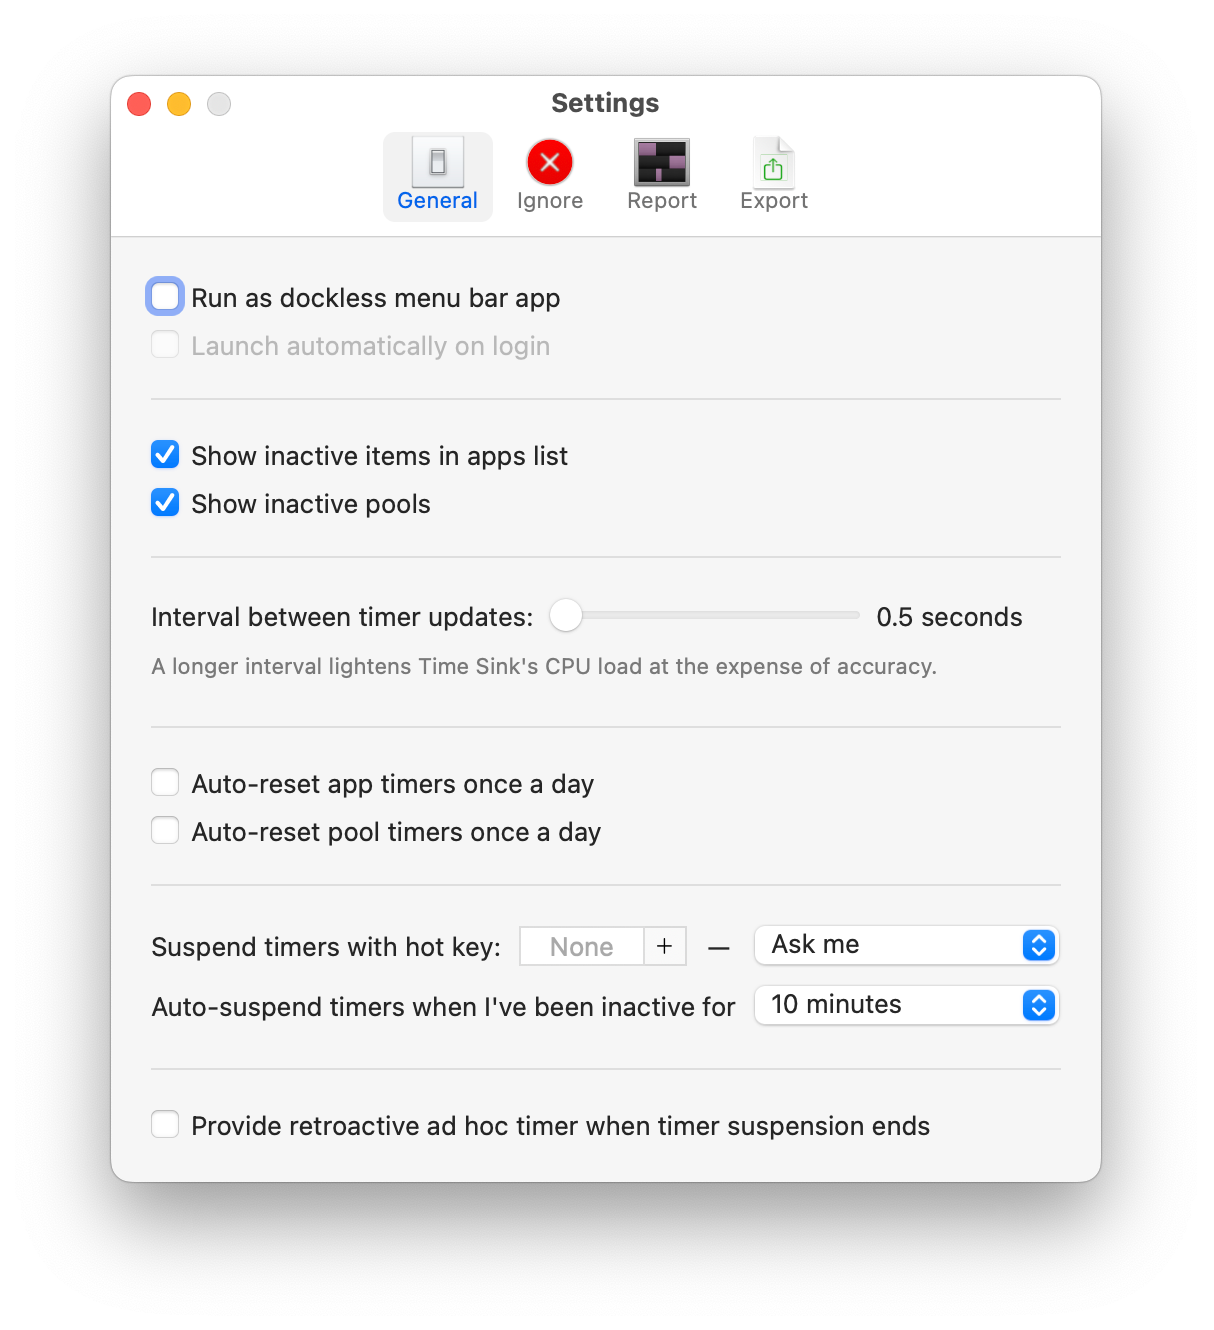
![]() Time Sink can run as a normal macOS app, or by toggling the first option in the General tab of its Settings, as a menu bar only app. If you select menu bar mode, the Time Sink windows will disappear, and you'll see a new icon in your menu bar.
Time Sink can run as a normal macOS app, or by toggling the first option in the General tab of its Settings, as a menu bar only app. If you select menu bar mode, the Time Sink windows will disappear, and you'll see a new icon in your menu bar.
By default, Time Sink uses a small black-and-white pie chart for its menu bar icon (the selected icon in the image at right), but using the Icon pop-up menu in the General prefs (as seen at right), you can choose from one of nine different looks.
As you can see, there are a total of 15 different icon selections available, arranged in five groups of three. The double icons are a set which will change based on whether you're viewing the Organizer (leftmost icon in a group) or the Reports (rightmost icon).
Single icons will not change at all—if you pick one of the single Organizer pie chart icons, for instance, that's what will always appear in your menu bar, even when you switch to the Reports view.
Once running in menu bar icon mode, click the menu bar icon to see Time Sink's window, and click the small gear icon at the top right of the window to access Time Sink's menus and settings. (See the General Usage section for more on menu bar mode.)
When checked, Time Sink will automatically run at login. Most likely, you'll want to check this, so you don't forget to start tracking your activities.
Attention App Store users
If you're using the App Store version of Time Sink, the "Launch automatically at login" option may be grayed out for you. If it is, there are two possible causes (along with two solutions).
-
You're a user of a previous version of Time Sink from the App Store, and you set the app to run at login.
The older version of Time Sink wasn't sandboxed, which meant it could add itself to your user's Login Items. However, such behavior isn't allowed in sandboxed apps, so we do things differently in this version. The grayed-out option means that we found Time Sink already listed in your login items; if you do nothing, it will continue to run at login.
If you'd like to make this option usable in the current Time Sink, open System Settings → Users & Groups → Login Items, and remove Time Sink from the list of login items. When you switch back to Time Sink, the option won't be grayed out.
-
You've moved the Time Sink app out of Applications.
macOS expects all App Store apps to live in the top-level Applications folder; this is where they're installed. If you move Time Sink to another folder, it's possible the launch at login option will be disabled.
To fix this one, quit Time Sink, move it back to Applications. This should make the launch at login option functional.
When enabled (checked), inactive items (apps, windows) and pools (pools without any active apps or windows) will be shown in the Organizer. Time Sink always keeps track of inactive pools and windows, so that they can be tracked when that window or pool is used once again. However, these inactive items are hidden by default. This setting unhides the inactive entries.
Interval between timer updates
This slider controls how often Time Sink polls the windows it knows about to determine a change in state (foreground, background, closed, etc.). The default is every half-second; drag the slider all the way to the right for a five-second interval.
Time Sink will record the most accurate data with this slider in the leftmost (0.5 seconds) position. You shouldn't change it unless you're specifically trying to reduce Time Sink's CPU usage.
If you'd like Time Sink to use less CPU power at the cost of reduced accuracy, move the slider to the right. The further you move to the right, the less CPU power Time Sink will require—but the higher the chances that your activity tracking report will be incorrect. (For instance, with the slider moved all the way to the right, there's a chance that Time Sink will miss a window that's not in the foreground for at least five seconds.)
Actual CPU consumption varies depending on your Mac model, your Time Sink settings (how many pools and windows you track, and whether you display non-active tracked items), the size of Time Sink's history file, the position of the update frequency slider, and whether or not the Organizer and Activity Report windows are open or closed.
The easiest way to reduce Time Sink's CPU usage is to leave both the Organizer and Activity Report windows closed until you need them; setting Time Sink to run in menu bar mode is a good way to do this. Updating those two windows is very CPU-intensive, especially when you have a lot of windows and/or pools to track.
Our knowledge base article, Reduce Time Sink's CPU usage, contains a number of additional tips to help you manage Time Sink's CPU usage.
Auto-reset app timers once a day and Auto-reset pool timers once a day
When enabled, app timers and/or pool timers will reset automatically, every 24 hours. You can couple this with the auto-export feature in the Reports section to create day-by-day auto-exported reports that cover just the last 24 hours' activity.
Note that Time Sink must be running, and your Mac must be awake, in order for the timers to be reset. Time Sink will try to do the daily reset as early as possible on any given day—so if your Mac wakes at 1:00am to run a backup (and Time Sink is running), the timers will be reset at that time.
Suspend timers with hot key
Define a global hot key to suspend (and resume, depending on other settings) Time Sink's timers. When you've set a hot key, you can then define how it will work using the adjacent pop-up menu. If you leave the pop-up menu set to Ask me, Time Sink will display a dialog the next time you press the defined hot key:
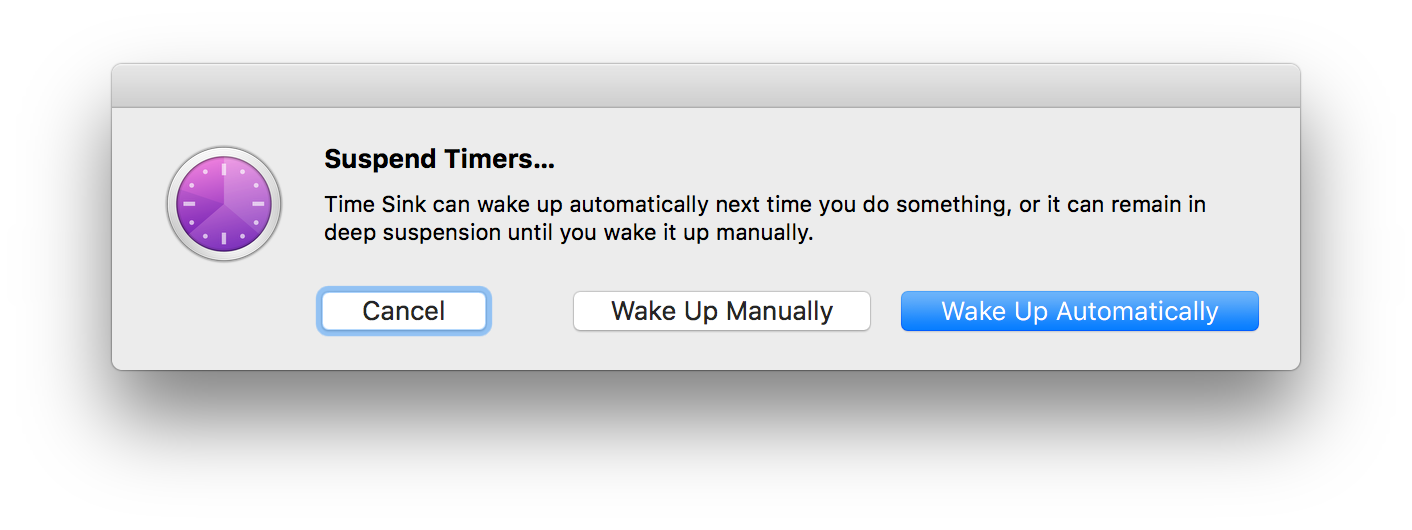
Choose Cancel to put Time Sink back to sleep, Wake Up Manually to start timing again but leave the hot key settings unchanged, or Wake Up Automatically to wake up and set the hot key's behavior pop-up to Wake up automatically.
In automatic mode, Time Sink will sleep until it senses either keyboard or mouse activity, at which time it will awake and resume logging time.
The final mode, Toggle, is a fully manual pause and resume. You press the hot key once to sleep Time Sink, and once more to wake it up.
Regardless of which suspend mode you use, when Time Sink is suspended, the Organizer window grays out all entries and displays "suspended" in large text. Time Sink's icon also dims, to let you know it's suspended.
Auto-suspend timers when I've been inactive for
Set the pop-up here to reflect the amount of idle time after which Time Sink will stop recording activity. The interval can be as short as 10 seconds, or as long as never. Idle periods are tracked by lack of mouse and keyboard activity; as soon as you move the mouse or touch the keyboard, idle time ends.
Provide retroactive ad hoc timer when timer suspension ends
When this pref is set, Time Sink will start an ad hoc timer whenever it automatically goes into suspend mode (based on how you set the previous prefs, and your system and/or display sleep settings). When Time Sink becomes active again, a window will appear, letting you categorize the idle time that has just ended:
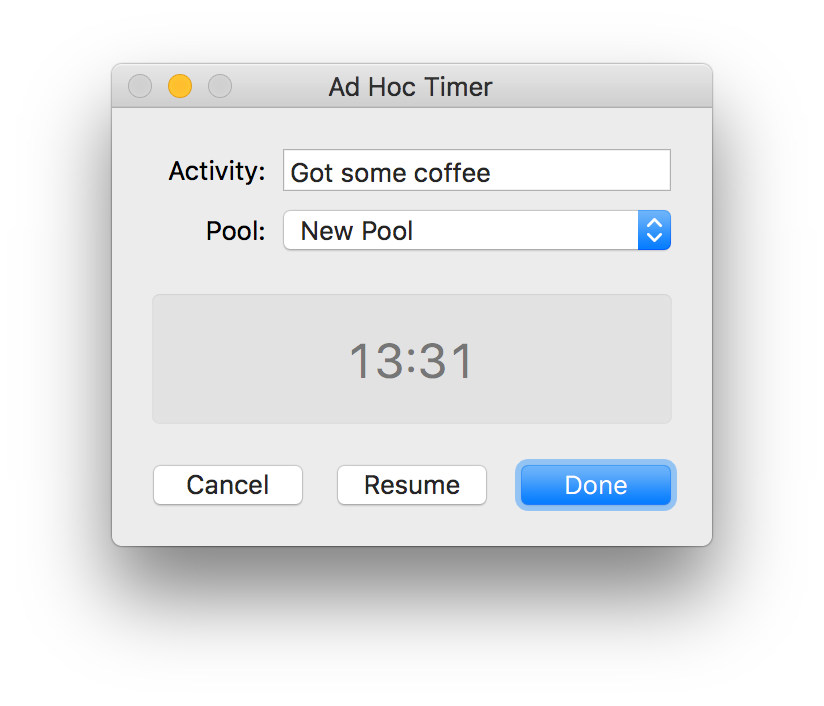
Use the Pool pop-up to assign the time to an existing pool, or to create a new pool. Click Cancel to not record the time at all, Resume to restart the ad hoc timer, and Done to enter the time into the chosen pool. (See the ad hoc section of Pools' help for more on ad hoc timers.)
Ignore
The Ignore section of Time Sink's settings let you specify apps and/or windows that Time Sink will not track.
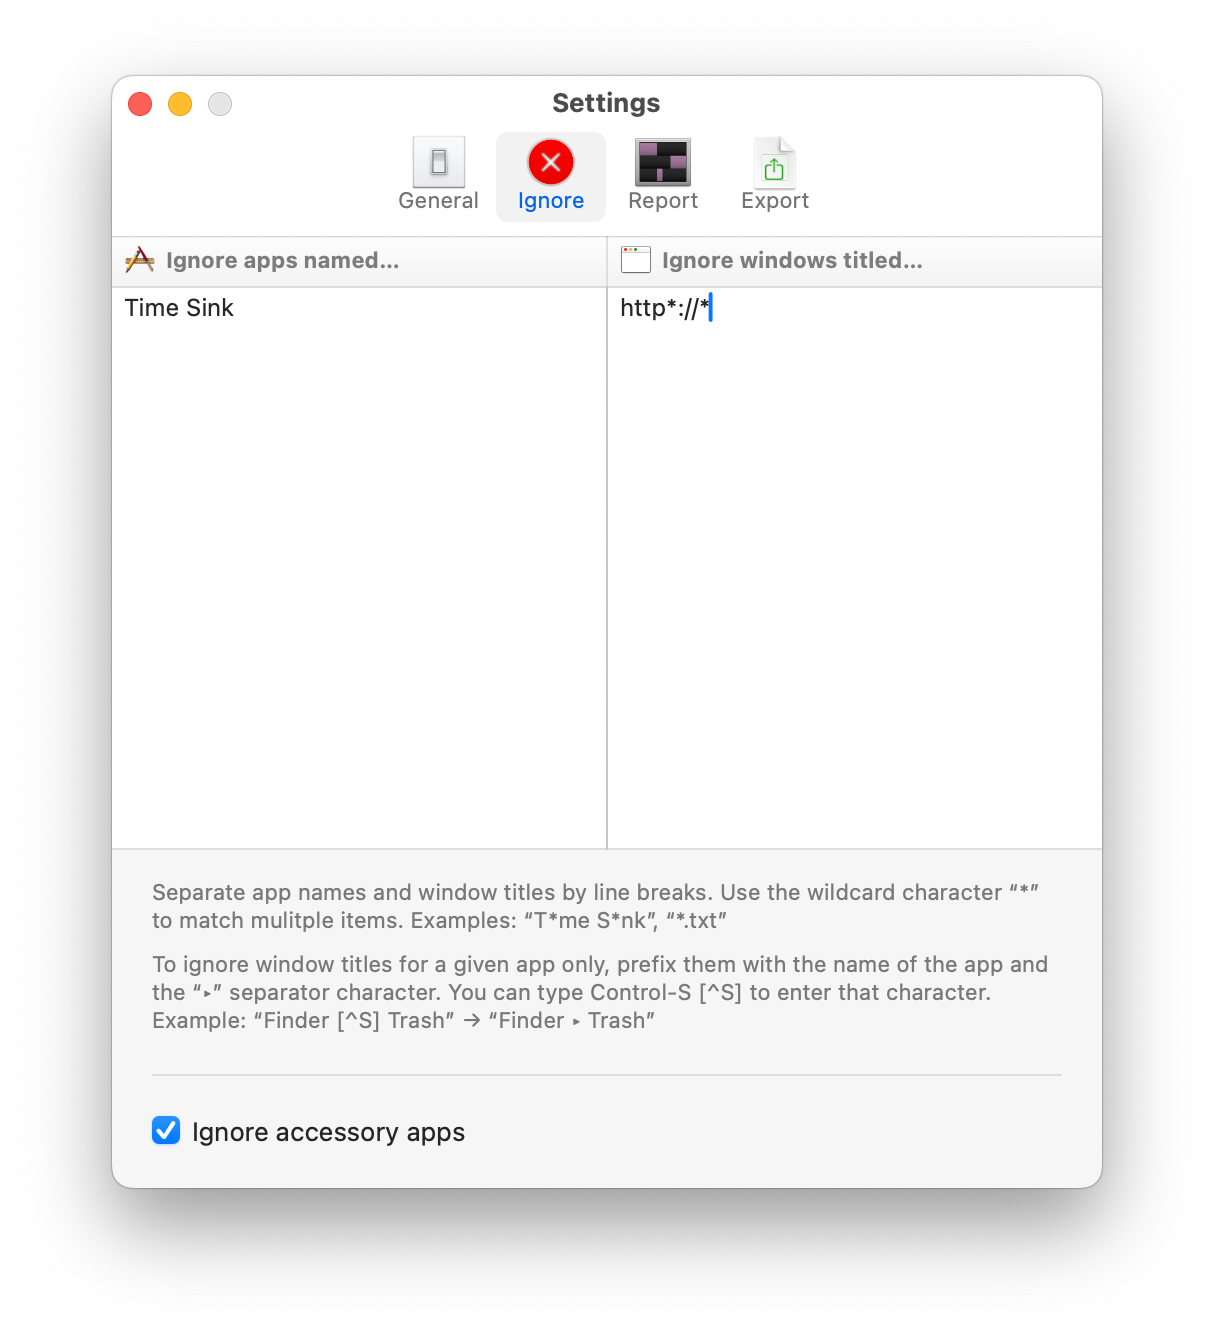
As seen in the above screenshot, Time Sink (by default) doesn't monitor itself (Time Sink listed in the left side of the window). In addition, it initially avoids recording time for web browser windows that haven't yet loaded their page title (the http*://* entry, which is what a loading site will have as its page title—until the page's title has loaded). One side effect of this rule is that any browser windows that don't have page titles won't be tracked, because Safari titles such windows using the path to the file.
You can remove these entries if you wish, and (probably more usefully) expand the list for your own particular needs.
You may wish to add Finder to the left side of the Ignore panel, thereby telling Time Sink to ignore it. Many users leave Finder as frontmost when doing nothing, and many users open lots of Finder windows. But you may not care about the time you spend in Finder, so adding it to the Ignore panel makes sense in those cases.
Alternatively, you could track Finder itself—without tracking its windows—by using the right side of the Ignore panel (see below).
One easy way to ignore a currently-active app or window is to highlight its entry in the Organizer, then press Delete. This will both remove that entry from the list, and create an entry for it in the Ignore panel. If the item in question is not active, said Ignore entry will not be created automatically—to create one regardless of the item's state, right-click and use the contextual menu.
The Ignore panel supports multiple wildcards, too (as seen with the http*://* entry). If you don't ever want to track a Wikipedia article, for instance, you could add *Wikipedia, the free* to the 'windows' side of the Ignore panel. This works because every Wikipedia page ends with the phrase Wikipedia, the free encyclopedia.
You can ignore app-specific windows by typing the app's name, a special separator character (by pressing Control-S), and the window's name.
To ignore all windows of an app (Finder or Path Finder, for example), type the app's name on the right side of the Ignore panel, press Control-S to insert the triangular separator, then type a *, which means "all windows." Time Sink will still track Finder (or Path Finder), but won't track any of its associated windows.
The Ignore accessory apps checkbox (enabled by default) means Time Sink won't track apps that typically don't have windows—menu bar utilities like Moom, for instance. If you uncheck this box, all such programs will be tracked, and you'll want to use the Ignore list to remove those you don't need to track.
Report
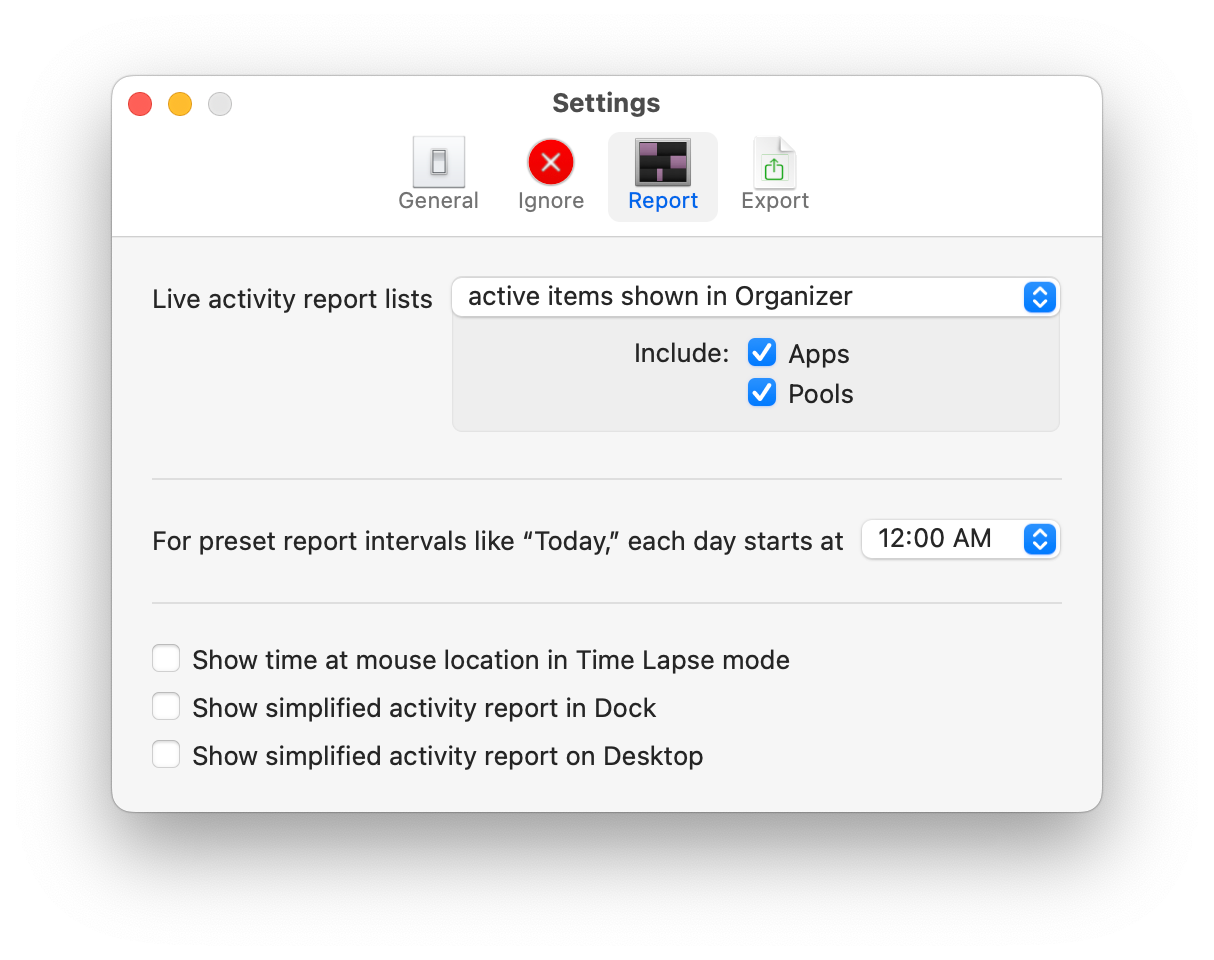
The Live activity report lists section of the Reports settings is used to customize what shows up in the live Activity Report (Window > Activity Report, or ⌘R). The pop-up menu defines what will be listed in the Time Sink Organizer:
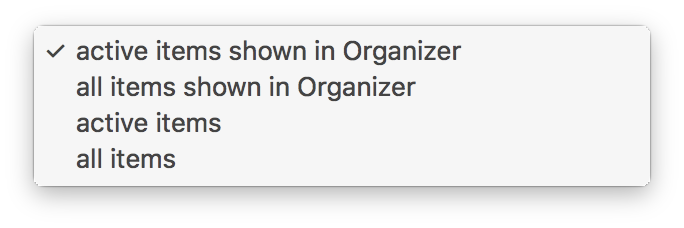
You can choose between two options (active or all) for items visible in the Organizer, or two options for items irrespective of their listing in the Organizer.
You can also choose to include both Apps and Pools in the report, or just one or the other. (Obviously, you must include at least one of the two, otherwise there'd be nothing to report.)
The For preset report intervals like "Today," each day starts at option lets you define the start of the day. For instance, if you typically start using your computer at 8:00am, you might want to pick 8:00am as the start of your day, so that any reports you view for "Today" show time usage based on your daily start time.
When enabled, the Show time at mouse location in Time Lapse mode option will display the time (and date) when you hover the mouse over a spot in the Report window.
The final two options, for showing a simplified activity report either in Time Sink's Dock icon or on your Desktop, should be self-explanatory. Try them out, and if you like them, feel free to use them!
Export
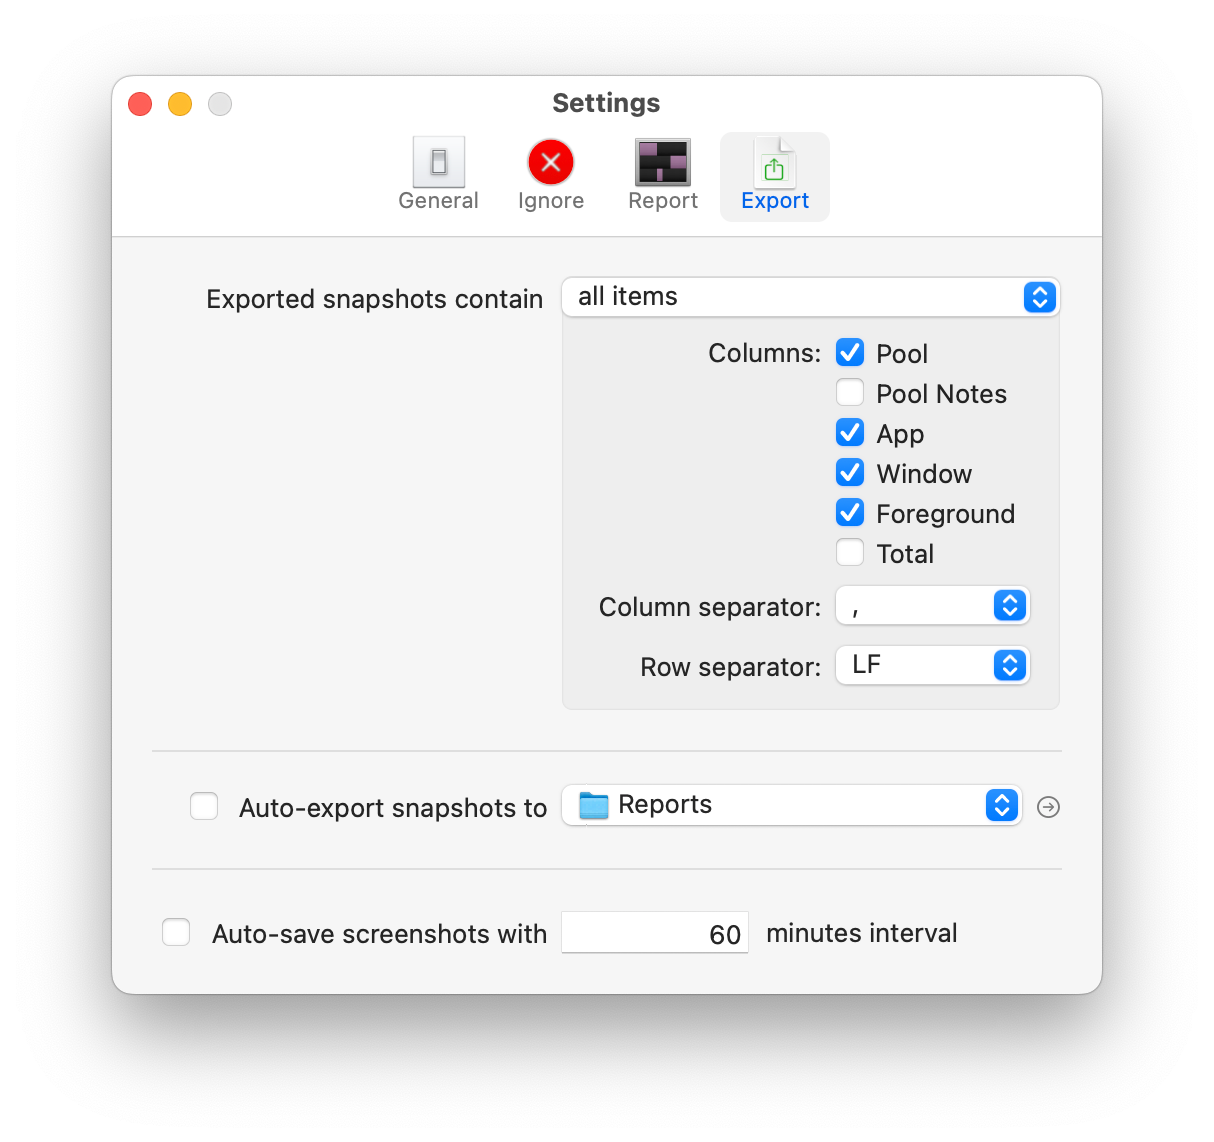
This section controls your exported usage reports. The Exported snapsots contain pop-up lets you pick what data you'd like to export—either everything Time Sink has ever tracked (probably the logical choice), or just those items presently visible in the Organizer.
Columns lets you specify which data fields are exported, and the Column separator and Row separator pop-ups let you change the characters that mark end-of-column and end-of-row, respectively. (The defaults should work fine for most any app that can read delimited text files, so only change these if you really know what you're doing.)
The Auto-export snapshots to pop-up lets you create auto-exports that run once a day. Check the box to enable this feature, then choose a save location via the pop-up menu to have Time Sink automatically export a snapshot of your activity, once per day.
Click the small circled arrow to the right of the pop-up menu to open the selected folder in Finder.
You can also choose at what time of day to run the auto-export, and whether the auto-export contains all data that Time Sink knows about, or just the data gathered since the last auto-export. (The second choice will give you a series of files that cover individual days, assuming your machine was able to export the file each day.)
If you also enable the auto-reset feature in the General section of Time Sink's settings, you'll get an automatically-created daily report of just that day's activities.
Please read the Reports section of help for information about the exported data, including details on the format of the date/time stamp.
The Auto-save screenshots with [] minutes interval setting controls Time Sink's screenshot feature, which can help you document your activities. If you choose to enable screenshots, you can specify both the interval at which they're saved and how many screenshots to save—once the maximum number is reached, Time Sink will delete the oldest file when saving a new screenshot.
You'll find the saved screenshots in a folder named Screenshots, located within the same folder as specified in the "Auto-export snapshots to" settings on this same Export prefs panel.
Note: The screenshot feature is disabled by default, and its use is completely up to you.