

As your media collection grows, keeping it organized is a key factor in being able to find what you want, when you want. Usher's Tags, Properties, and Notes provide the perfect tools to do just that. Collectively, these items help you create metadata—data about other data (your media files). And having good metadata is the key to organizing your collection.
When you first add a media file to Usher—assuming it doesn't have any existing metadata—a quick look at the metadata editor ( → ) will reveal an empty canvas:
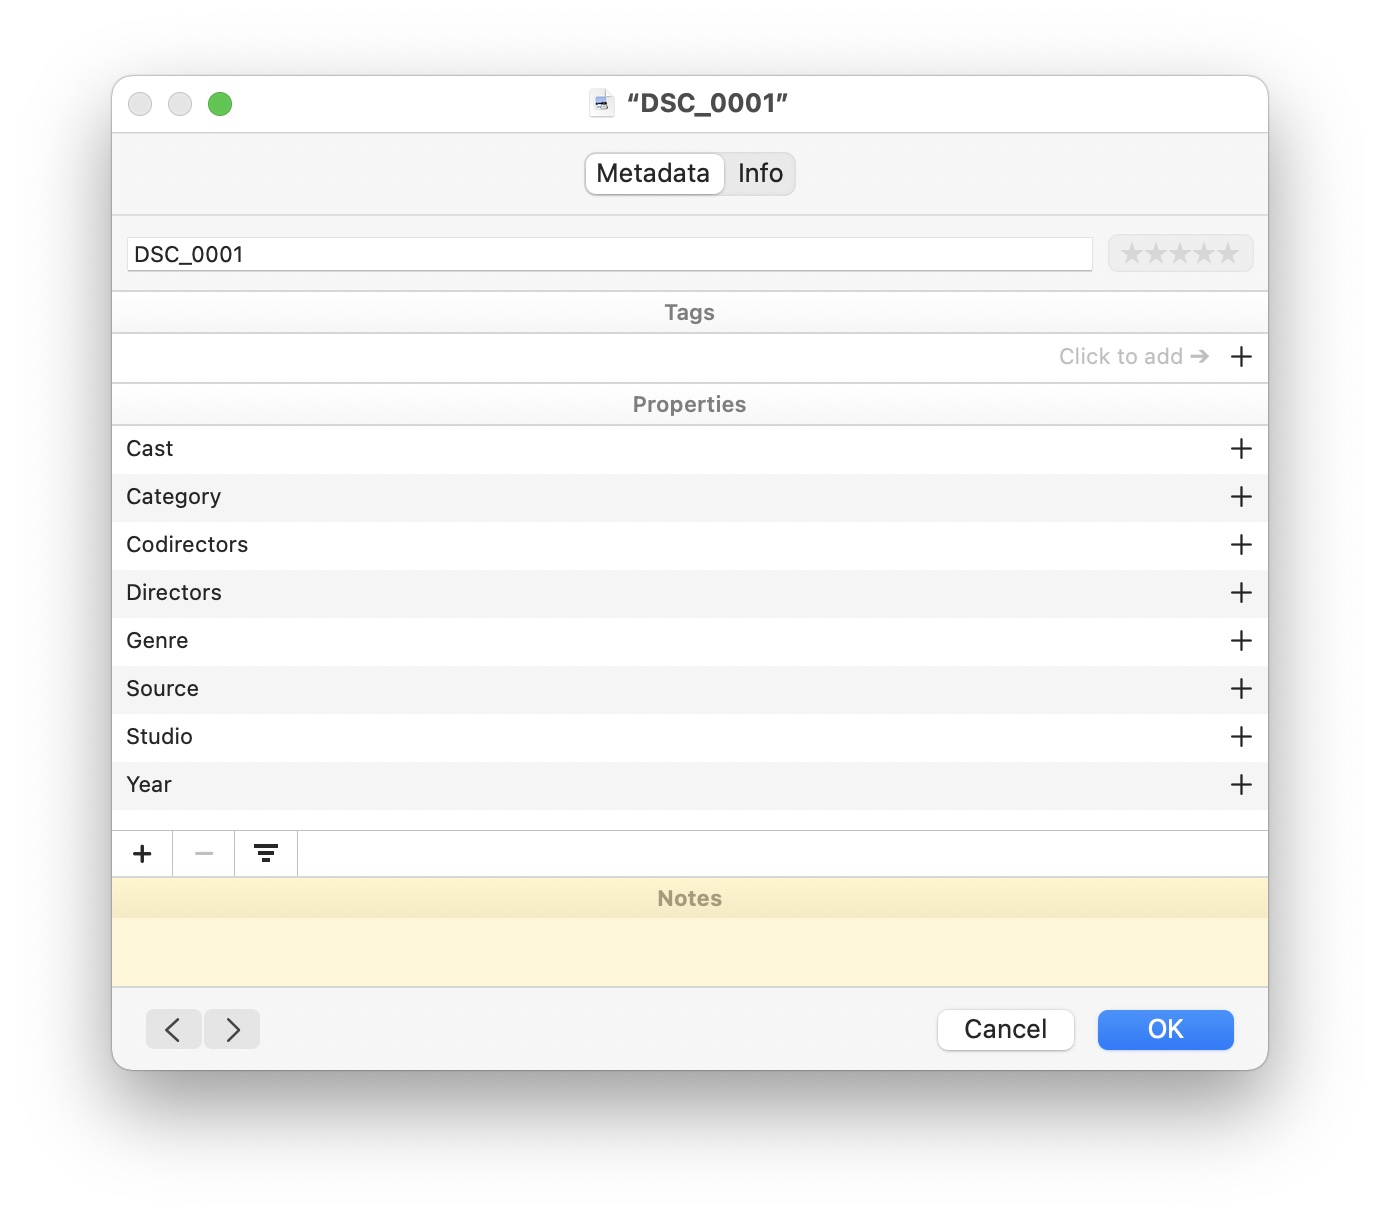
The Properties you see listed here are the defaults in Usher—you can ignore them, use them, or delete them—the entire section is under your control.
What exactly do you do with this blank canvas? Using Tags, Properties, and Notes, you can enable a nearly-infinite variety of ways to classify your media collection.
Tags
Tags should be familiar to anyone who has used Photos' keywords: A tag in Usher is essentially equivalent to a keyword in Photos. A tag is a word (or phrase) that can be applied to your media files, and any number of tags can be used on any of your files. For example, you could apply an Underwater tag and a Scuba Diving tag to all videos recorded while scuba diving, for example.
Once you've tagged your media files, you can use Smart Playlists to select media files based on one or more tags, making it easy to (for example) create a playlist showing only those files created during vacations to Europe where you traveled by train. On a Thursday. When it was raining. You get the idea.
See the Work With Metadata section for information on how to create, edit, delete and otherwise work with tags.
Properties
A simple way to conceptualize Properties is to think of them as Tags, except that each Property can have multiple values, not just one. A great example of a property is Cast: One movie will have multiple cast members, and they can all be listed as values for the singular Cast property.
Or to keep with the prior scuba diving example, you could create a property named Scuba, and then store dive-specific values in that one property: Night or Day, Shore or Boat, etc.
Properties are an excellent way to set up your media collection for use with Smart Playlists, as you'll see in that section of help.
When you open the metadata editor, the Properties section lists many properties—including empty ones—for all of your media files. You can filter out these blank properties if you prefer not to see them. This one window is where you'll manage all of your Properties—adding, deleting, renaming, and assigning values all happen within this one window.
Notes
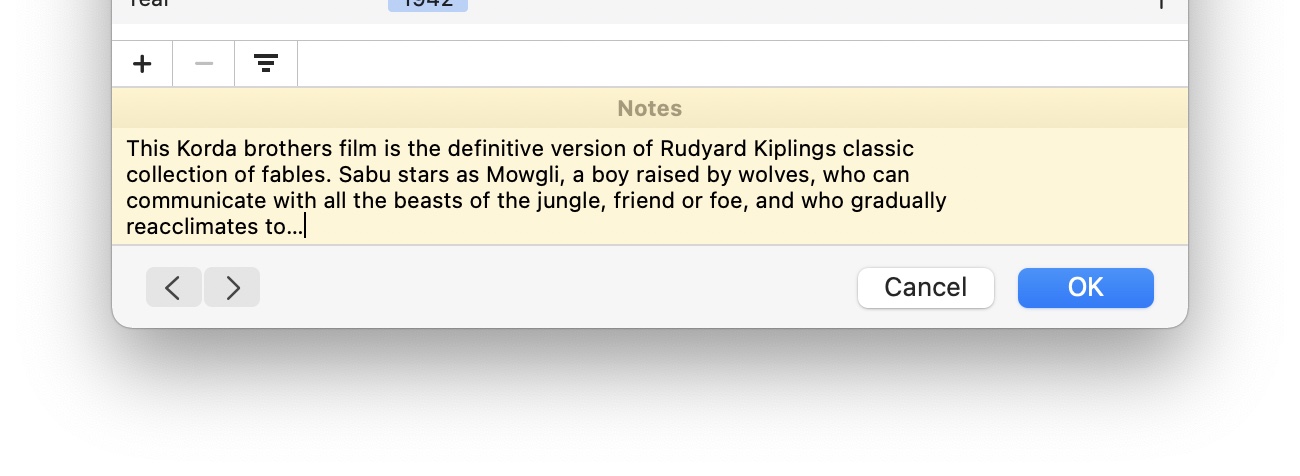
Notes allow you to add free-form text about each movie in your collection. While the text area may appear to be just one line, it's actually an auto-expanding text area—as you type, the field will expand when it needs more room. If you add so much text that the field can't expand any further, scroll bars will appear.
As with Tags and Properties, the Notes field can be used in Smart Playlists, making it simple to create a Smart Playlist consisting of media files that contain the specified values in their Notes field.
Work With Metadata
Tags and Properties are very similar, and hence, the way you create, edit, delete, and modify them is nearly identical, so they're covered as one topic here. Whether you want to work with tags or properties, the entrance route is the same: Select one or more media files, then select → (or press Command-T) to open the Metadata window for the selected file(s).
Creating Tags
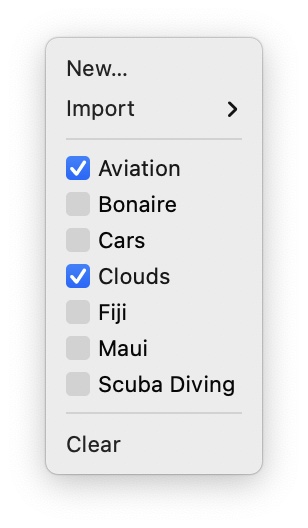 To create (or apply) tags, click on the plus sign at the right side of the Tags section of the dialog. This will open the window seen at right, displaying three menu options (New, Import, and Clear), along with any existing tags. Tags that have been applied to the selected media file(s) will have a check mark; Aviation and Clouds have been applied to this file.
To apply (or remove) an existing tag, check (or uncheck) the box next to its name in the pop-up menu.
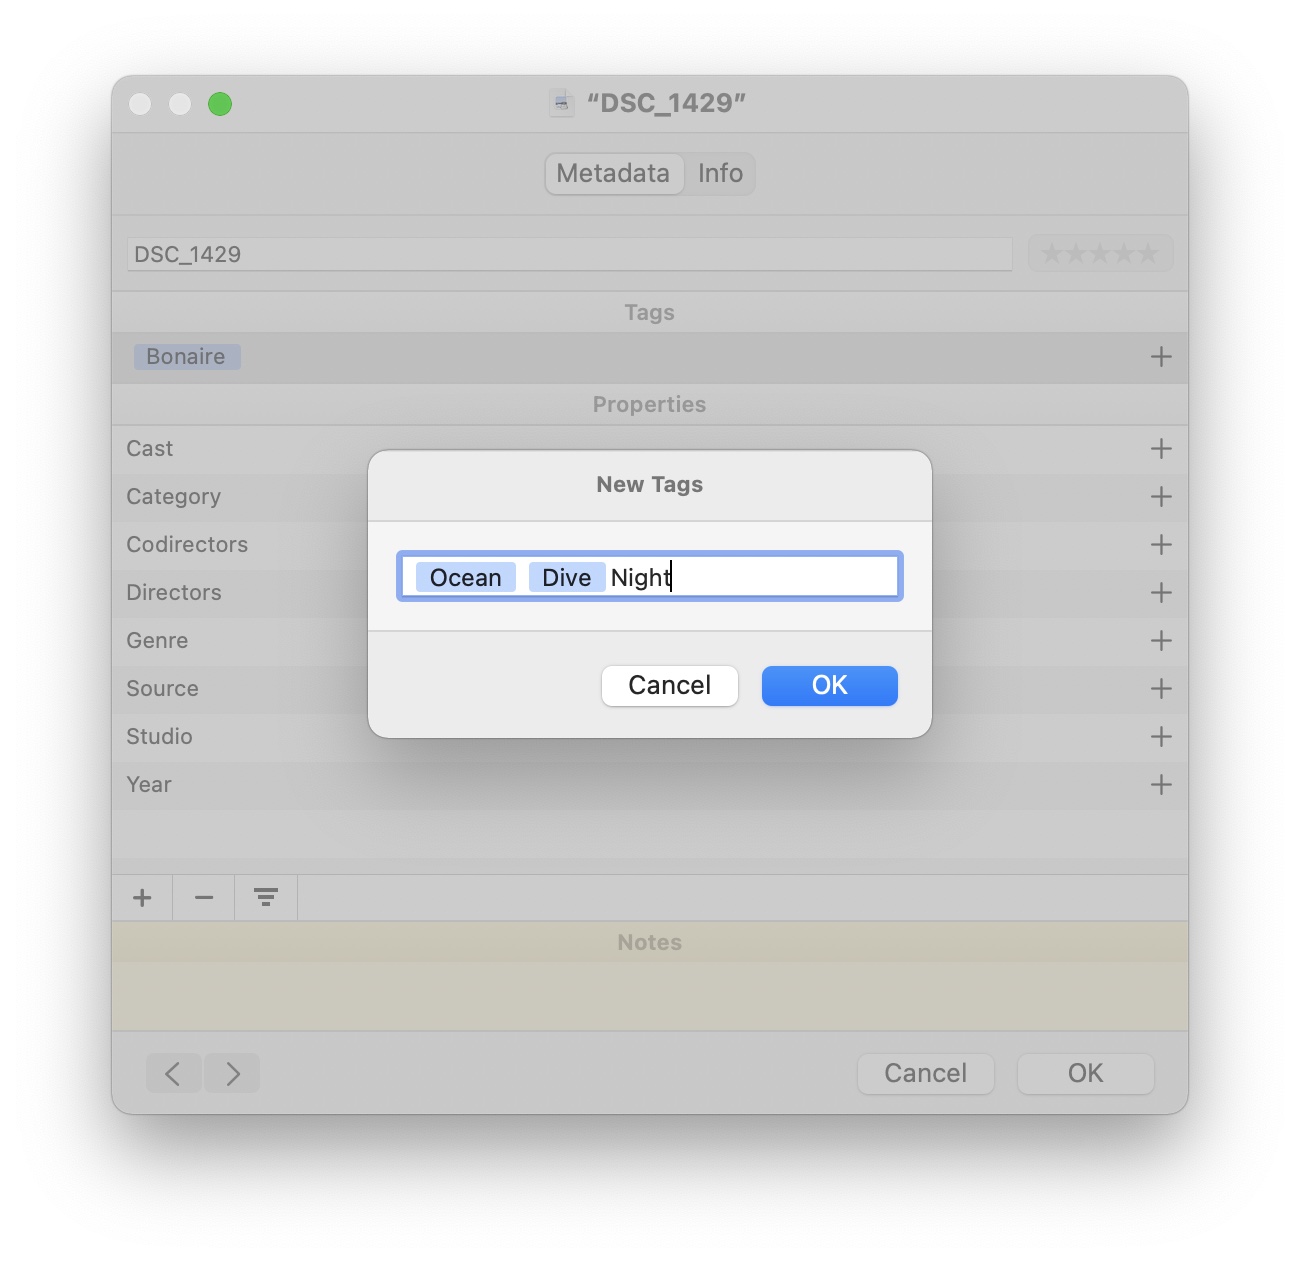
To create a new tag, click New at the top of the dialog. A New Tag dialog will appear, and you can then type as many tags as you'd like to add—just separate each with a comma:
You can get to this dialog directly by Option-clicking the plus sign.
When you type the comma, Usher will show the new tag with a blue background, letting you know that tag has been finalized. (You can also delete newly-created tags directly within the New Tags box, simply by selecting them and pressing Delete.)
You can also create or edit tags using this method: Click once on the row displaying existing tags (the one with the + sign at the end), then press Tab to activate the text box. You can now delete existing tags, or type for new tags. If you type the name of an existing tag (that's not been applied to the chosen media file(s), Usher will show auto-completion options as you type.
The Import option will be discussed a bit later in this help topic.
Removing Tags
To remove one or more tags from a media file, click once on the tags row, press Tab to activate the row for editing, then use the arrow keys (or mouse) to navigate between tabs, and press the Delete key to remove those you no longer want to have associated with the selected movie(s). You can also click the far-right plus sign again, and then click on the highlighted tags to remove them from the selected movie(s).
To remove all tags from a media file, either bring up the tag editing pop-up menu and click Clear, or click once on the tags row (to select it), then press the Delete key, or click the minus sign at the bottom of the window.
Adding New Properties
To add a new Property, click the Plus sign at the lower left of the metadata editor window. This will create a Property named New Property, which you can then rename and add your values.
If you click-and-hold on the plus sign, Usher will display a pop-up menu showing some additional choices, based on commonly-used properties.
For commercially-released movies in your media collection, previous versions of Usher featured an Auto Properties button that would try to look up relevant properties—directors, cast, year, description, etc.) from the internet. It almost never worked right, which is why it's been removed from Usher 2.
The good news is that there are a number of macOS apps that are very good at collecting movie properties, and they work seamlessly with Usher. Two that we have directly tested are Subler and MetaZ.
Both of these apps can handle batch conversions, though there's usually some interaction involved (there can be multiple entries for any given movie, and you need to decide which one to use) that makes automation more difficult.
You can add metadata to your movies before adding them to Usher, or you can send a movie file directly from Usher to one of these apps, using Usher's menu:
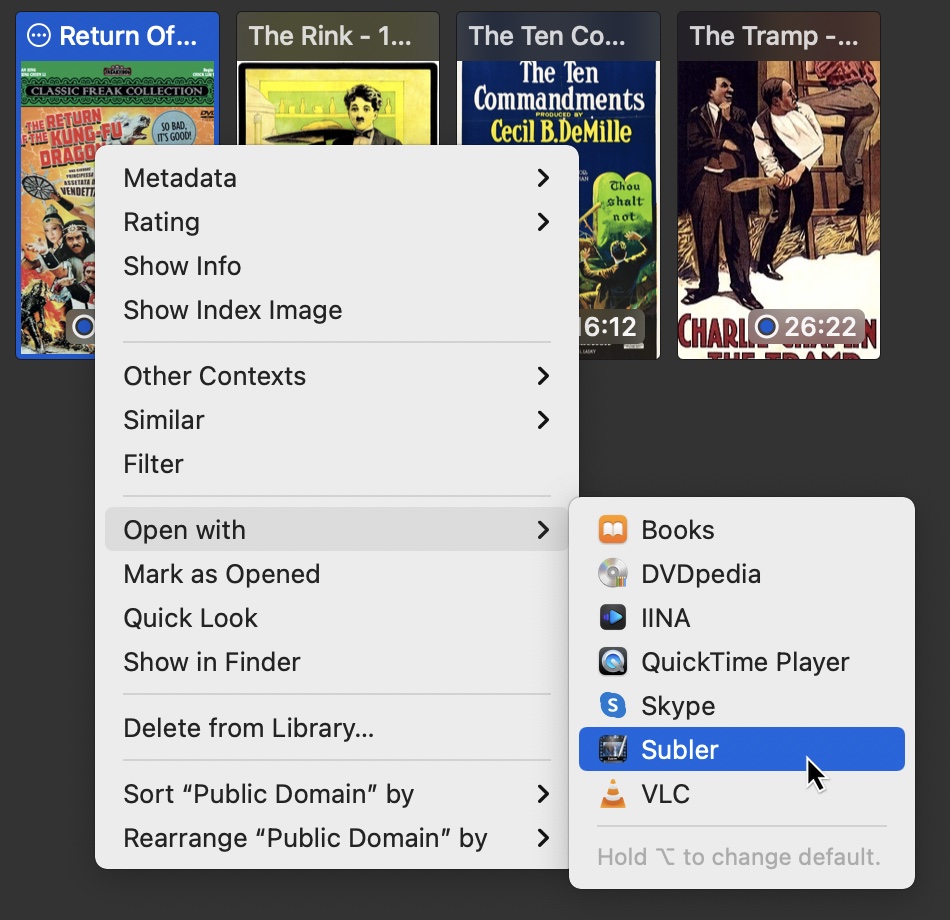
The selected movie will then open in the chosen app, from where you can search for the best metadata match. Once you've chosen the metadata to use, write it to the file, and then switch back to Usher.
When you return to Usher, you'll find your movie now has (up to) four new properties, with associated values: Cast, Directors, Screenwriters, and Year. If you'd like to use additional properties from the external app, you can do so by creating a new property in Usher, then copying and pasting the data from the external program.
Adding values to Properties
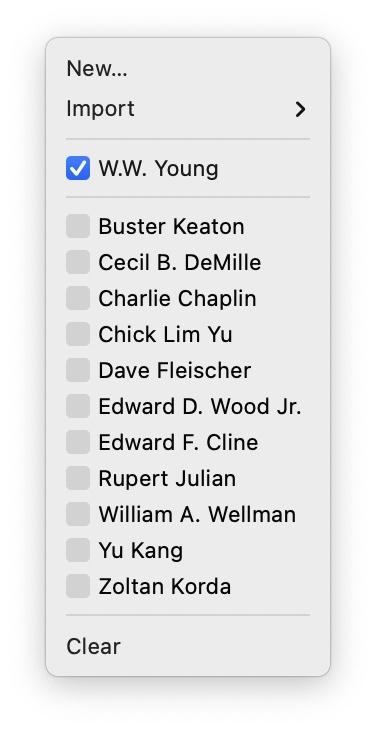 To add one or more values to a Property, select the desired Property, then click on the plus sign to the right of its name. This will pop-up the menu seen at right, which you can use to add a new item, import values (more on that later), or choose from existing entries in the chosen property from other media files.
Click "New...," and Usher behaves just as it does for new tag entries—a small dialog appears with a box into which you can type new values, separating each with a comma. Enter as many as you wish, and click OK when done. You can also click-and-Tab directly into a property to edit it.
You can use the checkboxes in the pop-up to easily add or remove values to the selected media files.
If you just want to add new values to a property, you can skip the pop-up entirely by Option-clicking on the plus sign. This will take you directly to the new value dialog box. If you have a property, such as Cast, that contains hundreds or even thousands of entries, using this shortcut can be a big timesaver.
Values must be unique for a given property. Any duplicate values will be removed when you close the Tags and Properties editing window.
Removing values from Properties
Values can be removed from Properties in the same way that you can remove Tags—click-then-Tab and edit, or click the far-right plus sign and click on the highlighted values that you'd like to remove.
The pop-up menu with checkboxes is the best way to remove one more values from a property across a number of media files. Say you wish to remove an actor from the Cast property of every movie. Select all of your movies, open the metadata editor, then click on the plus sign in the Cast row. Find the actor's entry in the checkboxes, and remove the checkbox—you've now cleared their entry from anywhere it appeared.
To remove all of a given Property's values from a movie, click once on the Property in question (to select it), then press Delete (or click the minus sign at the bottom of the screen).
Completely removing Properties from the list
To remove a Property from the list, highlight it in the list and press Delete. Properties can only be deleted if there are no values associated with them for any of the media files in your collection, so remove any assigned values before trying to delete the Property.
To quickly clear all values for a given Property across all media files, select the Usher entry in the Sources area of the sidebar, then press Command-A to select all media files, press Command-T (to open the Tags and Properties window), select the Property in question, and press Delete.
If you use Properties on your Photos and Music video files, you'll have to repeat the above steps for those entries as well.
Once you've cleared out all the assigned values, you can delete the Property by selecting it and pressing Delete.
Renaming Properties
Properties can be renamed by using the Finder's "click then wiggle" technique directly on the Property's name. Before doing so, however, please read this section carefully.
When you rename a Property, that renaming activity will only affect the currently-selected movie(s).
For example, assume you have a Property named Vacations (with values set in many media files), and you want to rename it to Travels. If you only have one media file selected when you do this, the values associated with Vacations will only be transferred to Travels in that one selected movie. In all other media files, you'll see both the old Vacations Property (still holding its values), as well as the new Travels Property (without any values).
If you want to globally rename a Property, make sure you select all your media files before opening the Tags and Properties editing window.
Filter Properties
As mentioned earlier, the Properties section of the metadata editor shows a number of default properties for your media files, even if the selected file doesn't have values defined for those properties. For example, here's a desktop image photo in an Usher library that also contains a number of movies:
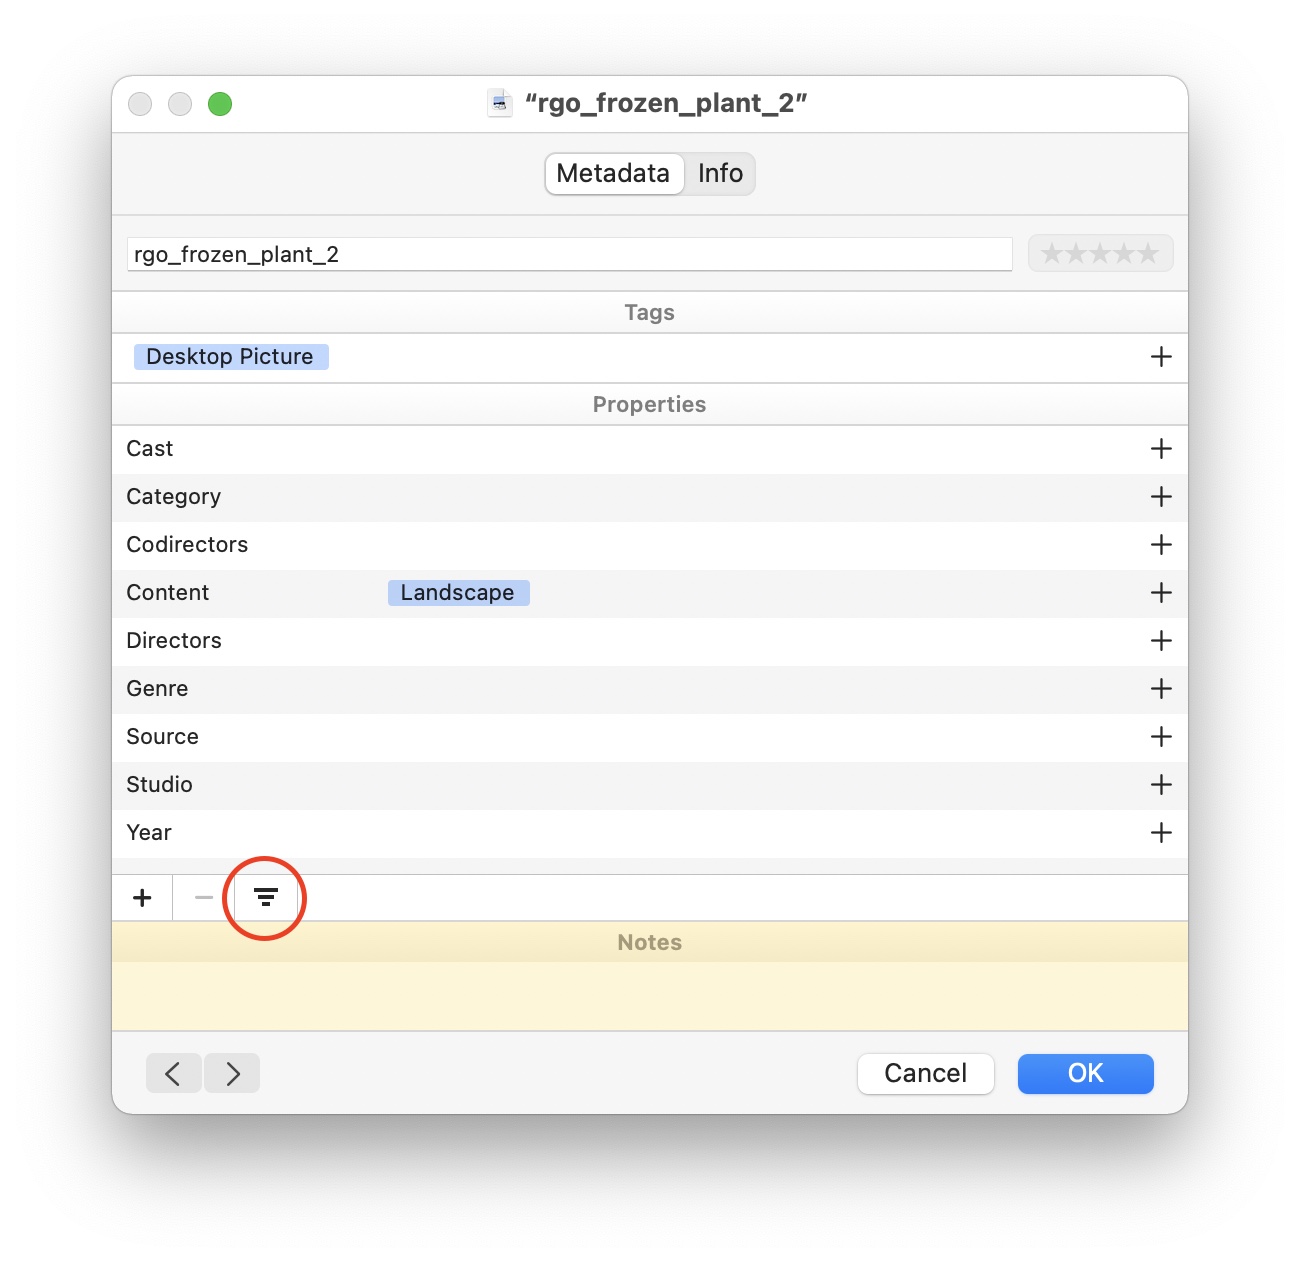
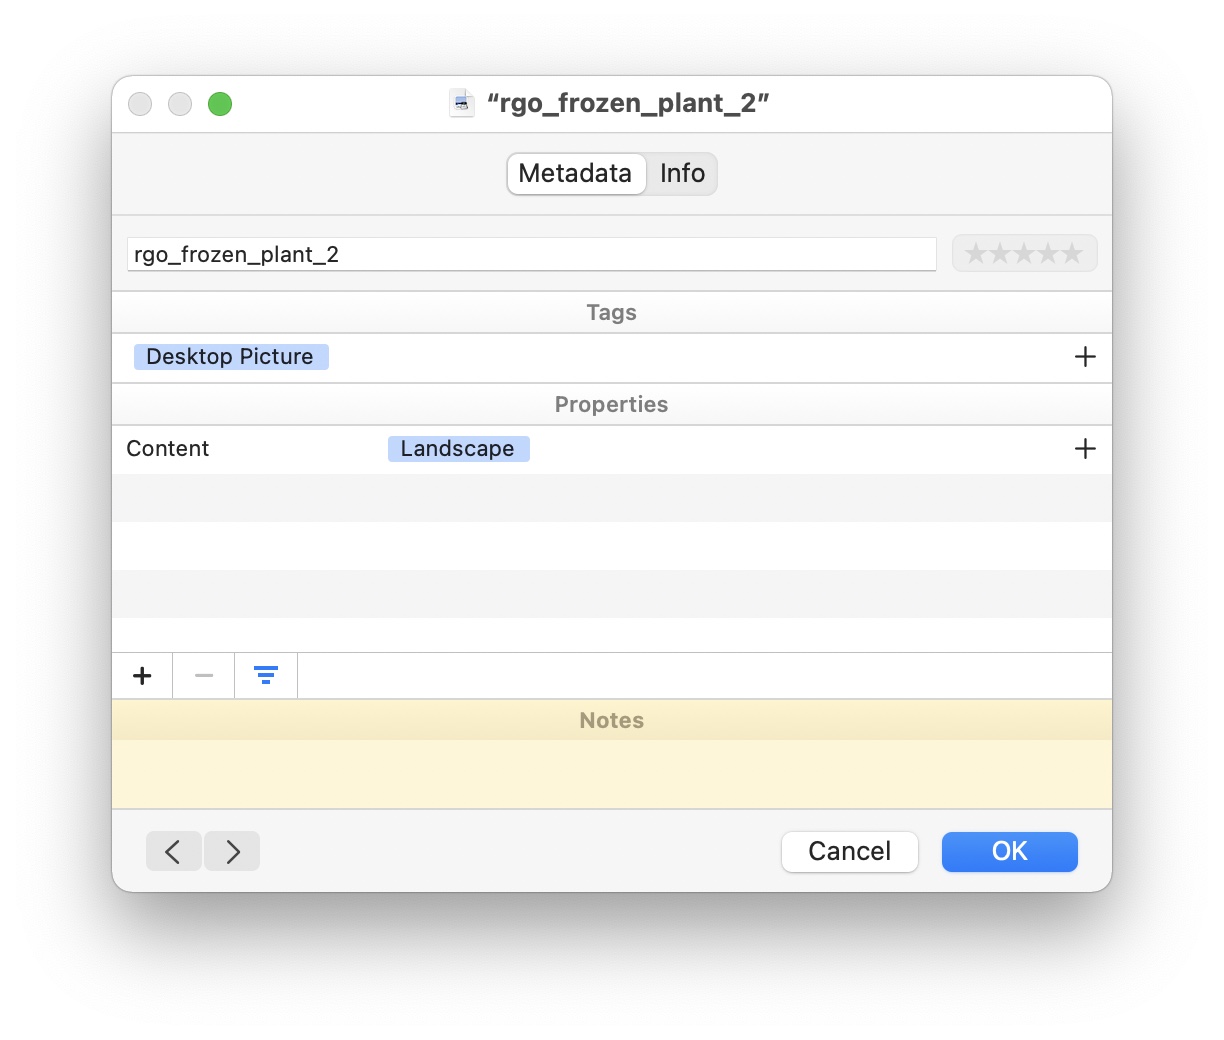
Most of those properties will never be used for desktop images, so they don't need to be there. Enter the filter button, as highlighted at the bottom of the window. Click that small filter icon, and you'll get a condensed view, showing only properties with values assigned to the chosen media file(s).
When the filter is enabled, there's one other behavior change with properties: Clicking the plus sign to add a new property will immediately display the pop-up menu showing available properties. Disable the filter, and you'll see the blank properties again, and the plus button will revert to its normal behavior.