

Presets are saved Name Mangler renaming operations. Basically, they're like Droplets, but function within Name Mangler, instead of as standalone applications.
Stock Presets
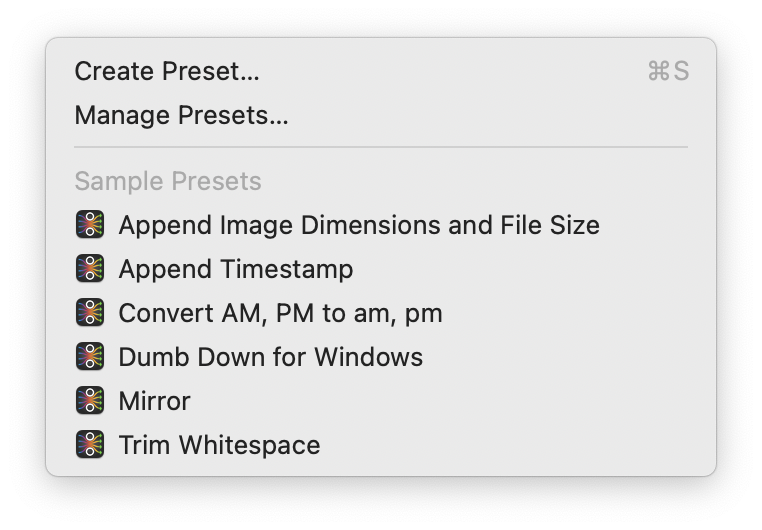
Name Mangler ships with a number of predefined presets, visible in the Presets menu:
To see any preset's settings, select it from the menu (don't worry; it won't run on its own). For example, here's the preset for Dumb down for Windows, which finds all Windows-illegal characters in a filename, and replaces them with underscores:
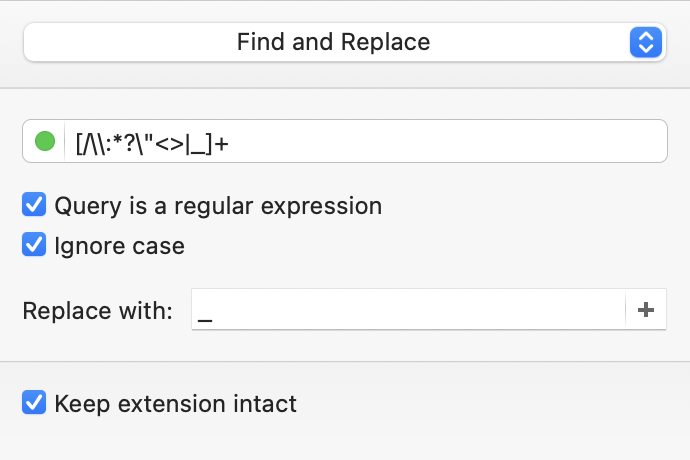
You don't need to understand everything—or even anything—you see there to use this preset; just load up your (backed up, of course) files, and then click the rename button.
If a preset is presently active, it will have a checkmark next to its name in the Presets menu, and you'll see its name if you click the History button to reveal the History browser section of Name Mangler's interface.
The stock presets are all fairly self explanatorily named, but here's a brief example of what each does, in case you need some clarification:
Append Image Dimensions and File Size Applied to an image file named myphoto.jpg, the new filename would be myphoto (1024x768 – 23kB).jpg, with the photo's actual dimension and file size, of course.
Append Timestamp Applied to myphoto.jpg, the new filename would be myphoto.jpg (20121203-094505-AM).jpg.
Convert AM, PM to am, pm For files that have a trailing uppercase AM or PM, this preset will change it to lowercase. Note that it will leave other instances of those letters alone.
Dumb down for Windows This preset removes all illegal Windows characters from a filename, replacing them with underscores. In the case of multiple consecutive illegal characters, they will be replaced with a single underscore.
Trim Whitespace This preset removes leading and trailing whitespace, but not whitespace from within the filename.
You can modify, delete, and rename any of the existing presets. So if one does almost what you want it to do, load it, modify it, then use the Presets > Create Preset (⌘S) menu command to save it under a new name.
Create/Manage Presets
To create a preset, first create your renaming configuration (be it single or multi-step), then select Presets > Save Preset, or press ⌘S. Give the preset a name, and it will then show in the Presets menu.
If you make changes to the preset in the future, remember to save it again so you don't lose your changes.
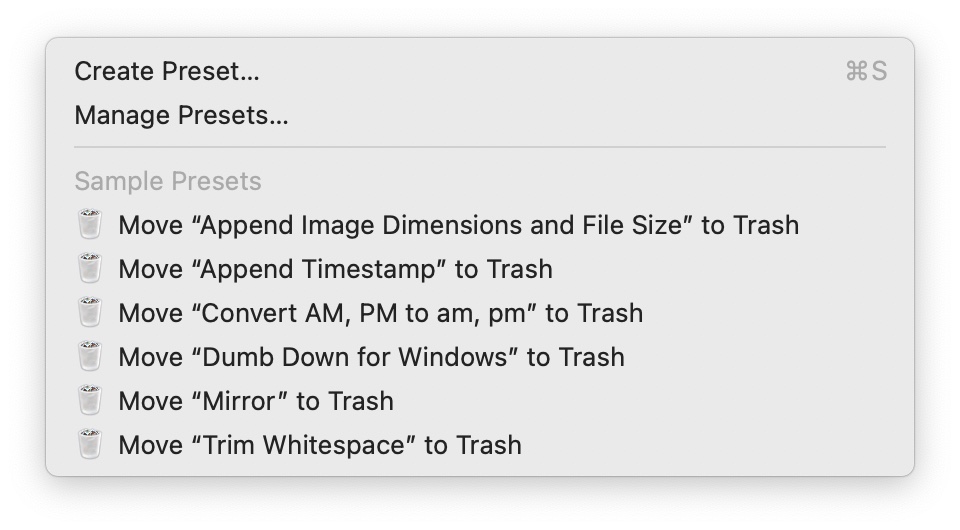
To delete a preset, hold down the Option key, then click the Presets menu item. You'll then be able to delete any preset:
To rename presets, you can either save it under a new name, then delete the old one, or select Manage Presets and rename them in Finder.
Synchronizing Presets
Name Mangler includes a hidden feature: the ability to synchronize your presets (and snippets; see Advanced help for more on snippets) across multiple machines. For more on how to set this up, see the Save Presets and Snippets in… section of the Settings help.