

This collection of tips and tricks will help you get the most out of Name Mangler, and show you a couple of hidden features that you may—or may not—want to put to use. (Some of these tips are repeated in other sections of help, but they've been compiled here for quick access.)
App Store Version Details
There are some differences between the direct version of Name Mangler and the version available in the Mac App Store, due to Apple's requirements for App Store apps. Expand the following section to read about those differences.
Key points about the App Store version
Note: This section only applies to Name Mangler users who purchased the program in the Mac App Store.
Apps sold in the Mac App Store are sandboxed, which leads to some differences from the direct sales version of Name Mangler (which is not sandboxed). Although these differences aren't material, you may see signs of them in your use of the program. Here are some ways in which the sandboxed version of Name Mangler differs from the direct sales version:
Path Finder is not supported, so you can't use it to automatically populate Name Mangler's file list. (You can still drag-and-drop from Path Finder to Name Mangler, however.)
You must have run Name Mangler at least one time before attempting to use Droplets.
Name Mangler should not be moved out of the Applications folder.
If you use comments—as added in the Get Info box—on your files, they will (more than likely) disappear after renaming. We cannot access and write these comments when operating within the sandbox.
Updates will be done from the App Store application, not from within Name Mangler.
In addition, there are a few places where you'll see dialogs exclusive to the sandboxed version of Name Mangler.
The first time you try to use File > Populate with Finder Selection, for instance, you'll see this dialog:
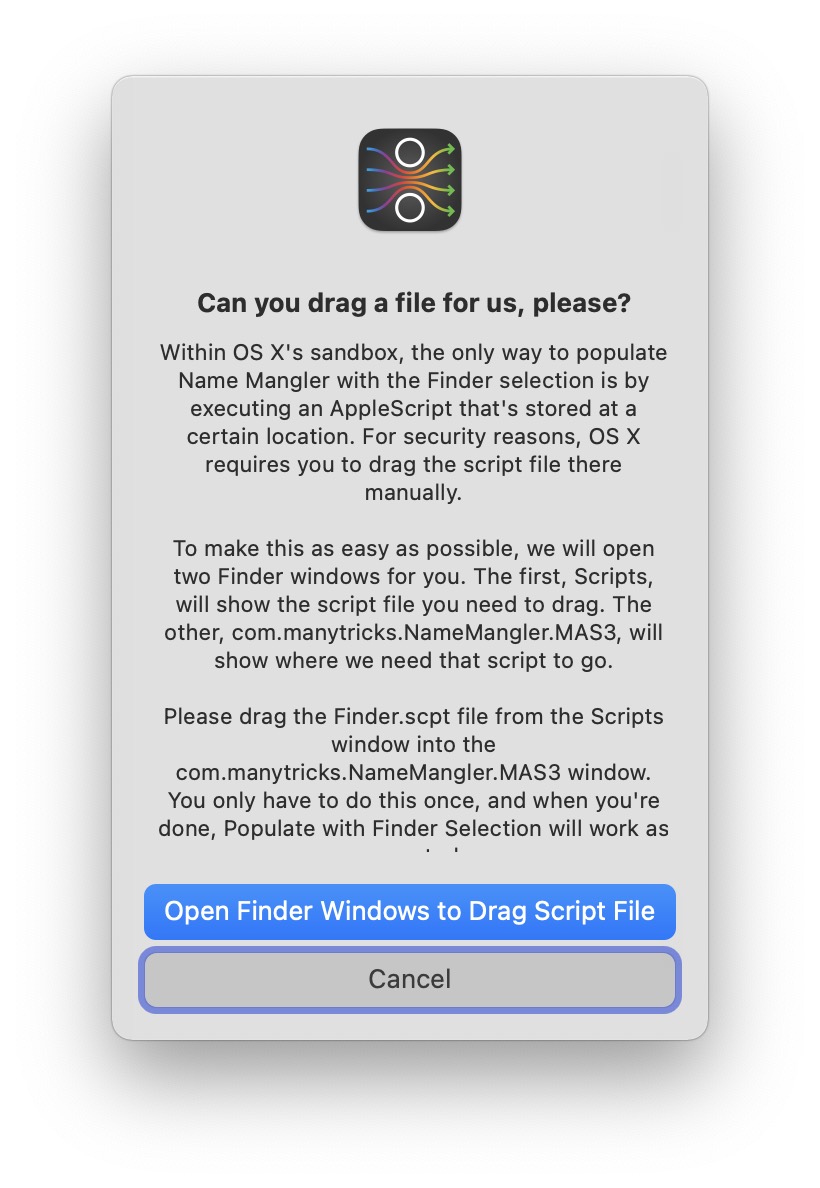
Follow the instructions—we're not allowed to actually do this for you—and you'll never again be asked about populating with the Finder selection.
You will also probably see this dialog on occasion:
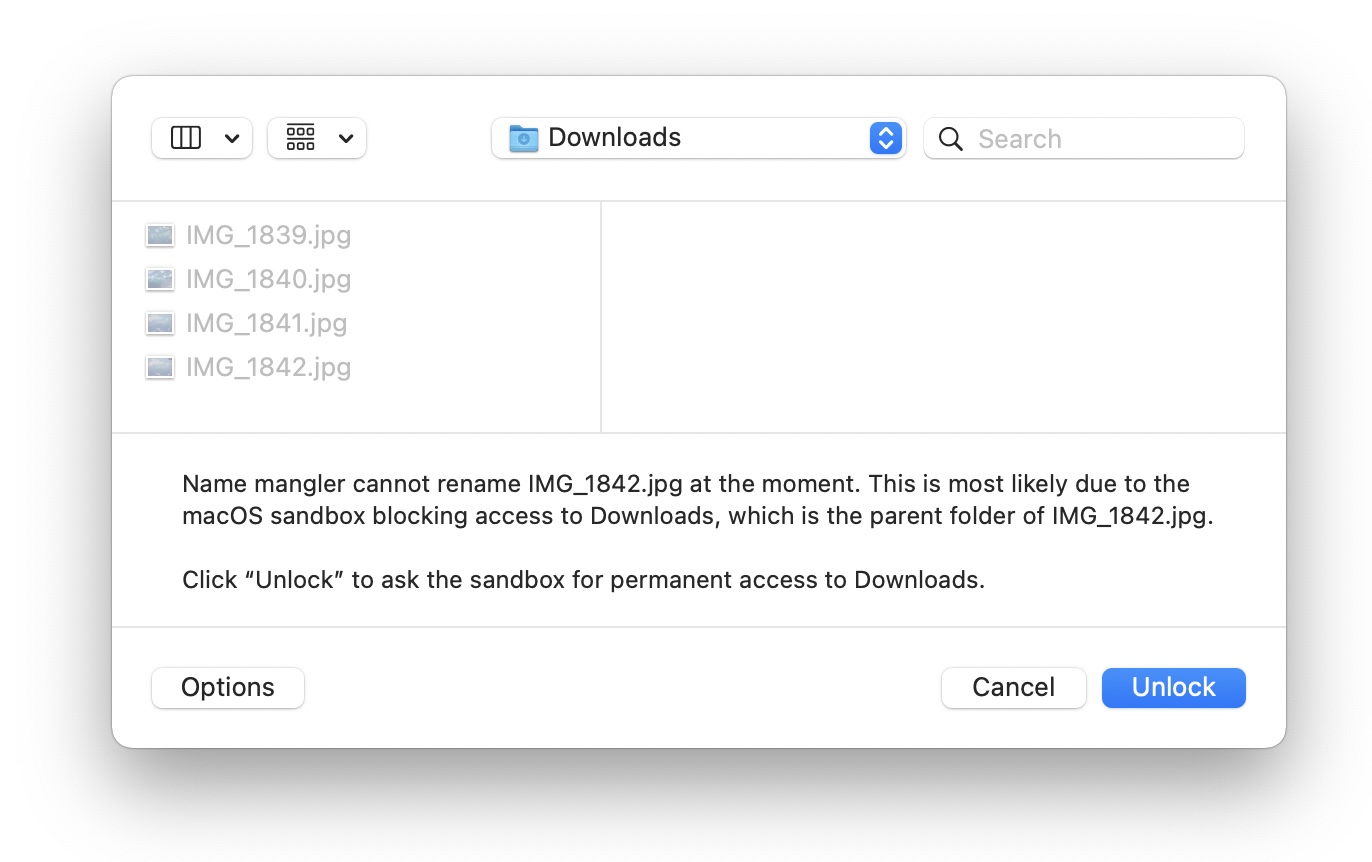
This will appear if Name Mangler is unable to rename files; the most likely cause is that the folder containing those files needs to be unlocked for use with Name Mangler. Just click the Unlock button at lower right—you'll only have to do this once for each folder you use with Name Mangler.
Finally, you hopefully won't see this box, which will only appear if Name Mangler is unable to rename the selected files (even after unlocking):
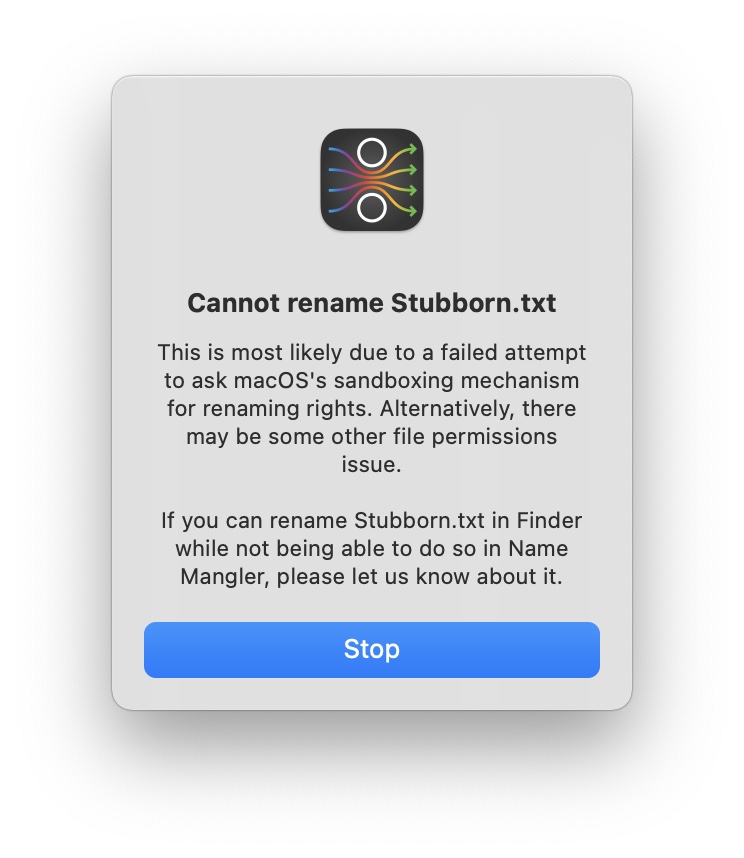
If you see this message, you'll have to move the files to another folder to be able to rename them—and as the note says, if you find you can rename those files in Finder while not being able to do so in Name Mangler, please let us know about it.
We've seen situations where the macOS sandbox sometimes gets confused over what it's allowed to do, which can cause this message to appear. Before you try moving a folder around, try rebooting: This has cleared the issue for everyone who has brought it to our attention.
General
Here are some tips for the application overall, including some differences between the App Store and direct sales versions of the program.
-
Not a fan of our white-on-black file list area? Did you know we have a setting for that?

-
Did you know you can synchronize presets and Advanced mode code snippets across multiple Macs, in real time? You'll need to be using a service like Box or Dropbox, but if you are, setup and usage is amazingly easy. See the section on 'Save Presets and Snippets in' in the Settings section of help.
-
Path Finder users, hold the Option key, and you can use File > Populate with Path Finder Selection. You can use this same trick in Settings, to set the On Startup pref to 'Populate with Path Finder selection.'
-
Name Mangler 2 users may miss the "quit when finished processing" preference. (We removed it because the speed of Name Mangler 3 means you'll rarely be waiting for a renaming operation to complete.) You can get it back, though (or disable it again if you don't like it) by using the following links.
Note these links will only work when viewing help within Name Mangler. If you're viewing help online, please open Name Mangler's in-app help if you want to change this setting.
File List Area
The file list area (the left side of the Name Mangler window) is very useful; make sure you also read the File List Area section of help for more on how it works.
-
If you select one or more (or all, via ⌘A) entries in the file list area then press ⌘C, Name Mangler will copy a comma-delimited set of data to your clipboard. Paste that data into a text file, save it as a .CSV file, and you can import it into a spreadsheet app (or into any app that can read CSV files).
The data is formatted in this manner:
/full/path/to/old_filename.txt,old_filename.txt,new_filename.txt
With these three fields, you can easily sort your file list by path, old filename, or new filename.
-
You can remove a file or files from a renaming operation by dragging it/them out of the file list area; when you do, you'll see a small 'x' appear next to the dragged file, letting you know the file will be removed:
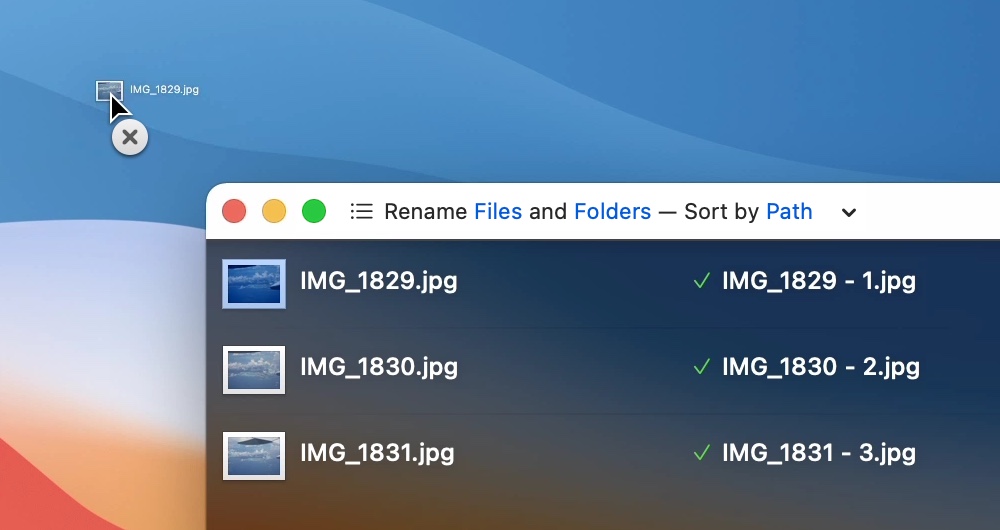
You can select multiple files using Command and/or Shift, but only if the View > Click in List To menu item is set to Select Items. Note: These files are not deleted, just removed from the file list area!
-
To remove a folder and all of its contents from the file list area, hold down the Option key when dragging the folder out of the list.
-
To add a file or folder to an already-existing collection of files to be renamed, drag it into the file list area while holding down the Shift key.
-
If you accidentally drag and drop a massive collection of files on Name Mangler's window, and want to stop the file scanning operation, click the Rename button—it will act as a global cancel key, and immediately end the scanning process.
-
If you're a Name Mangler 2 user, and you miss the "clear list" button, you can get it back. Click the links below to regain the Clear List button, or to remove it if you decide you no longer want it.
Note these links will only work when viewing help within Name Mangler. If you're viewing help online, please open Name Mangler's in-app help if you want to change this setting.
Display Clear List Button • Do Not Show Clear List Button
Once enabled, the button shows as a small X next to the History button on the toolbar:
You can clear the file list with a right-click anywhere in the list, then select Clear List from the contextual menu that appears.
Multi-Step Renaming
Use these tips to best take advantage of multi-step renaming. (This section is repeated verbatim in the multi-step renaming section of help.)
-
Read the metadata section of help—in particular, the Name category can be very useful in multi-step renaming operations:
-
The Name metadata item (and its related variations) will insert the current (i.e. as of all prior-listed renaming actions) filename.
-
The Original Name metadata item (and its related variations) will insert the file's original name, as if no renaming actions were taking place.
-
-
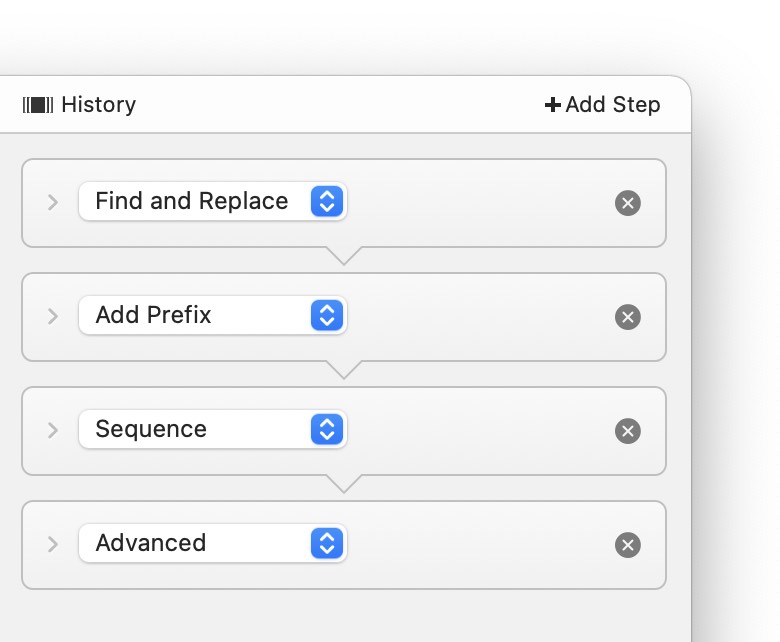
You can collapse any renaming action by clicking the small triangle to the right of its pop-up menu:
-
If you need to rearrange actions, click-and-hold on the action to move, then drag up or down. If you prefer the keyboard, use ⌘↓ and ⌘↑.
You can duplicate any action by right clicking on it and selecting Duplicate Renaming Step from the contextual menu that appears. (Selecting Reset will return that action's settings to their default values.)
-
To delete an action, click its 'x' button (or click it once to select it, then press Delete).
-
You can see the interim results as of any step in the renaming operation by selecting any action, then looking at the file list area. With an action selected, you'll see a third column:
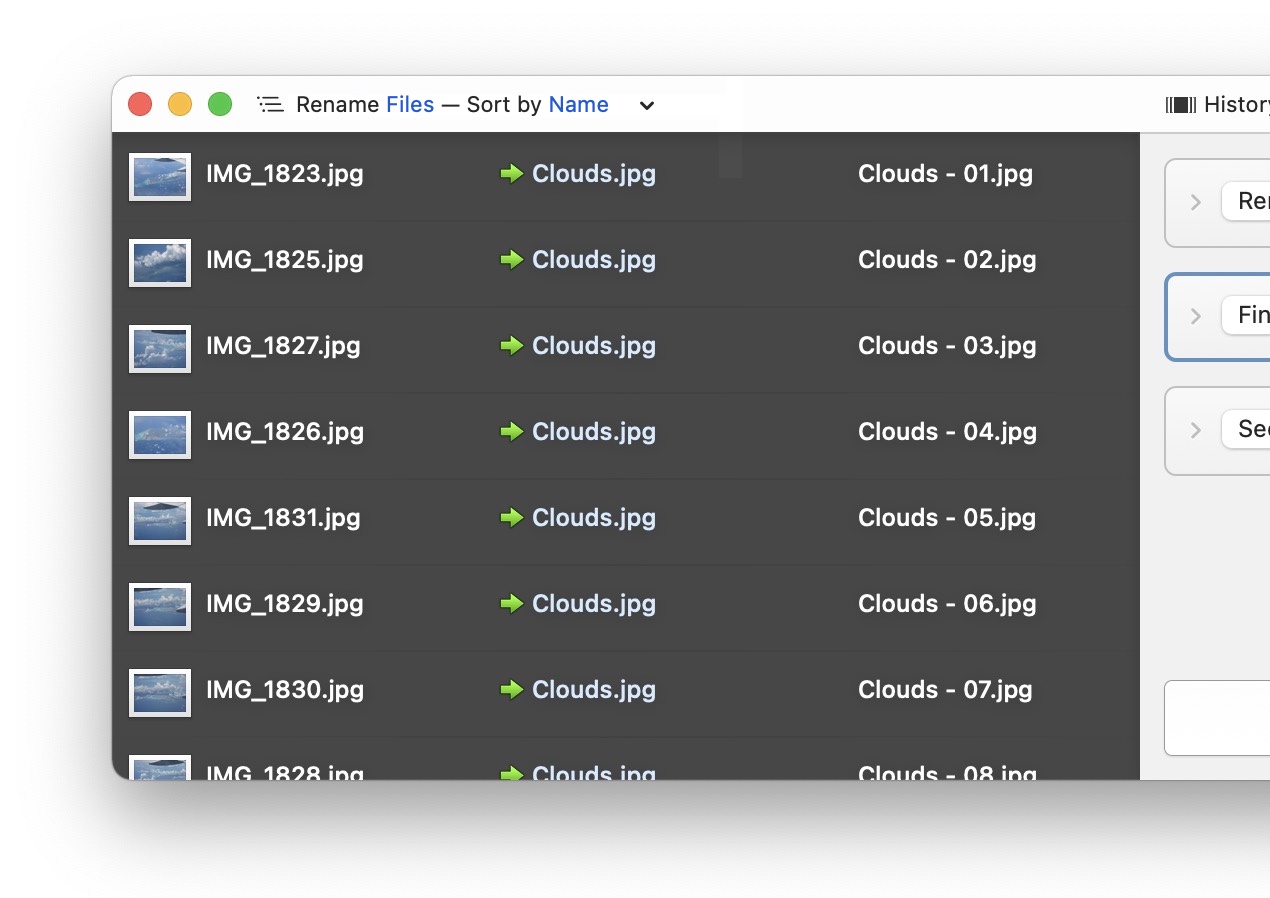
The middle column, in light blue, are the results as of the selected naming operation.
This feature can be very useful when working with many step renaming operations, especially when you're trying to figure out why the final name isn't coming out as you expect it to.