Note: This article applies to Leech 2; Leech 3 has built-in scheduling support.
One feature that Leech, our simple download assistant, doesn’t offer is scheduling. For many users, this isn’t an issue, as they can use their internet connection whenever they wish. There is a subset of users, though, who have internet connections that may offer more speed at night, or not have capacity limits at night, or may allow unlimited downloading only at night.
A future version of Leech may offer scheduling, but until that comes to be, you can use AppleScript and a scheduling application to handle the task. It’s not overly complicated, but does require a bit of work in Leech and AppleScript.
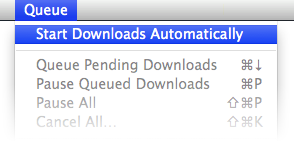
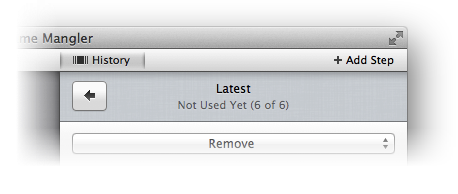
The first step is to have Leech queue up all download requests, so you can just copy and paste URLs into it during the day, then let it run at night. To put Leech in queued mode, just make sure there’s not a checkmark by the Queue > Start Downloads Automatically menu item, as seen in the image at right.
Once that’s done, you can add URLs to Leech throughout the day, but they won’t start downloading. Next, you’ll need to create two AppleScripts, one to start those queued downloads, and the other to pause them again.
(more…)