

After installing Moom, it should have walked you through the process of granting it access via Apple's Accessibility permissions system. But if that didn't happen for some reason, here's how to give Moom the permissions it needs to work.
macOS 11 and Newer
With Moom installed, open System Settings, then select Privacy & Security. In the long list of topics in the right-side window, find and click on Accessibility:

Within the Accessibility panel, scroll down until you find Moom; once you see it, make sure the slider is enabled:
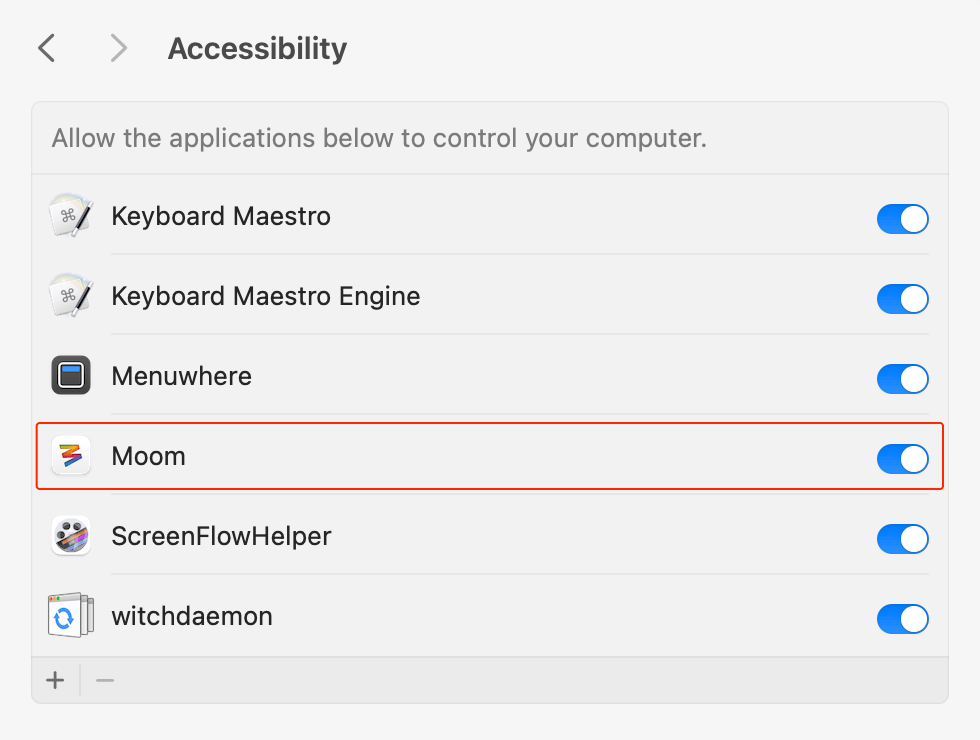
If you don't see Moom in the list at all, click the "+" sign at the bottom of the list, enter your password when prompted, and then navigate to the Applications folder in the window that appears. Find Moom and double-click it to add it to the list (and grant it approval).
Older macOS Versions
In versions of macOS prior to macOS 11 Big Sur—specifically, macOS 10.13 (High Sierra), macOS 10.14 (Mojave), and macOS 10.15 (Catalina)—enabling Moom is slightly different. When launched, you'll see this dialog:
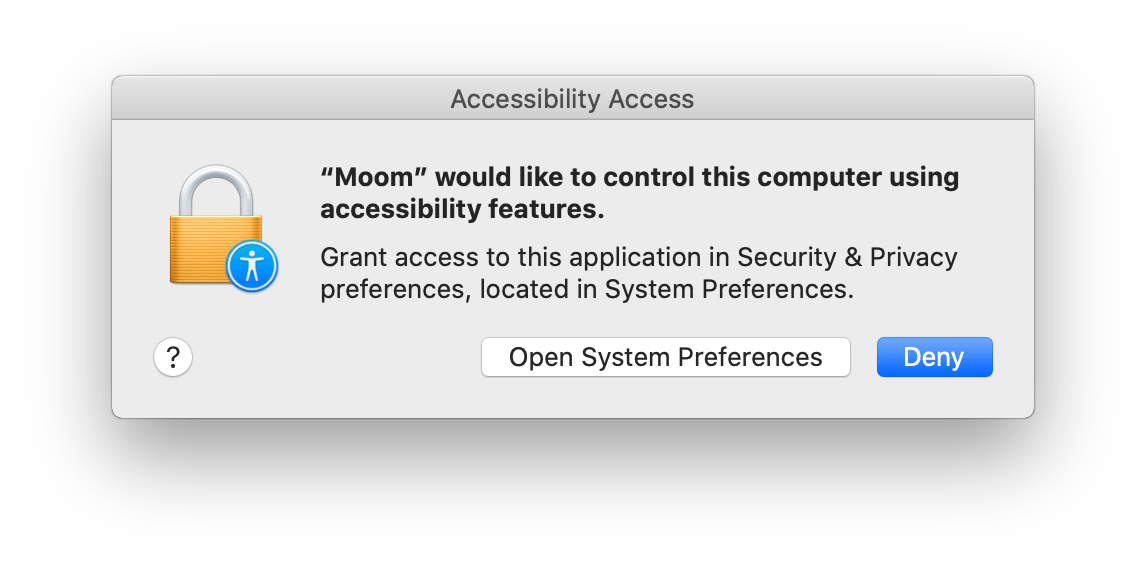
Click Open System Settings, and you should see Moom listed; check the box next to its icon to grant it permission to run.
To manually add Moom to the list, open System Settings, then open Security & Privacy, and then Accessibility. From there, the steps are the same as detailed above: Click the "+" sign, find Moom in your Applications folder in the dialog that appears, and click Open.
Once you see the Moom icon with the box next to it checked, Moom is ready to use.
Troubleshooting
If Moom's pop-up palette doesn't appear when you hover over a window's green (or yellow or red, depending on your Moom settings) window widget, this is usually a sign that the macOS Accessibility system has lost track of Moom's permissions.
There are a number of things you can do to try to kick start the OS, and they're all covered here:
How can I get Moom's pop-up palette to appear?
If none of those solutions solve the problem, please use one of the contact methods at the bottom of the Overview of Moom chapter to get further assistance.
About Moom Licenses
Many Tricks apps come with a "forever" license: When you buy Moom from us, it's not a subscription. Your license will work on the version of Moom that you purchased indefinitely.
Our licenses also include at least one year of free updates to Moom. After that, we may release a paid update which you can choose to purchase or not purchase. If you do purchase, you get that update, plus any prior updates you skipped, and another year of updates. Switching to an evolutionary app update model explains how this works—and why we think it's better for both our customers and us—in great detail.
Depending on when you last purchased Moom, or an update to Moom, your license may be in one of four states:
- Eligible for upgrade: If you own the last major release of the app, you can buy the latest version at a discount.
- Free updates expired, unpaid update in use: You purchased the app over a year ago, and you're running a version of Moom that's a paid update for you.
- Free updates expired, no update available: You purchased the app over a year ago, but there's not currently an update available. When there is, if it's a paid update, you'll have to decide if you want to purchase it or not.
- Any available updates are free: You purchased the app within the last year, so you're still eligible for free updates.
If you open the License window in Moom, you'll see the current state of your license, possibly with some explanatory text and a couple of buttons (depending on when you purchased Moom and what version of Moom you're using). Here are two of the possibilities:
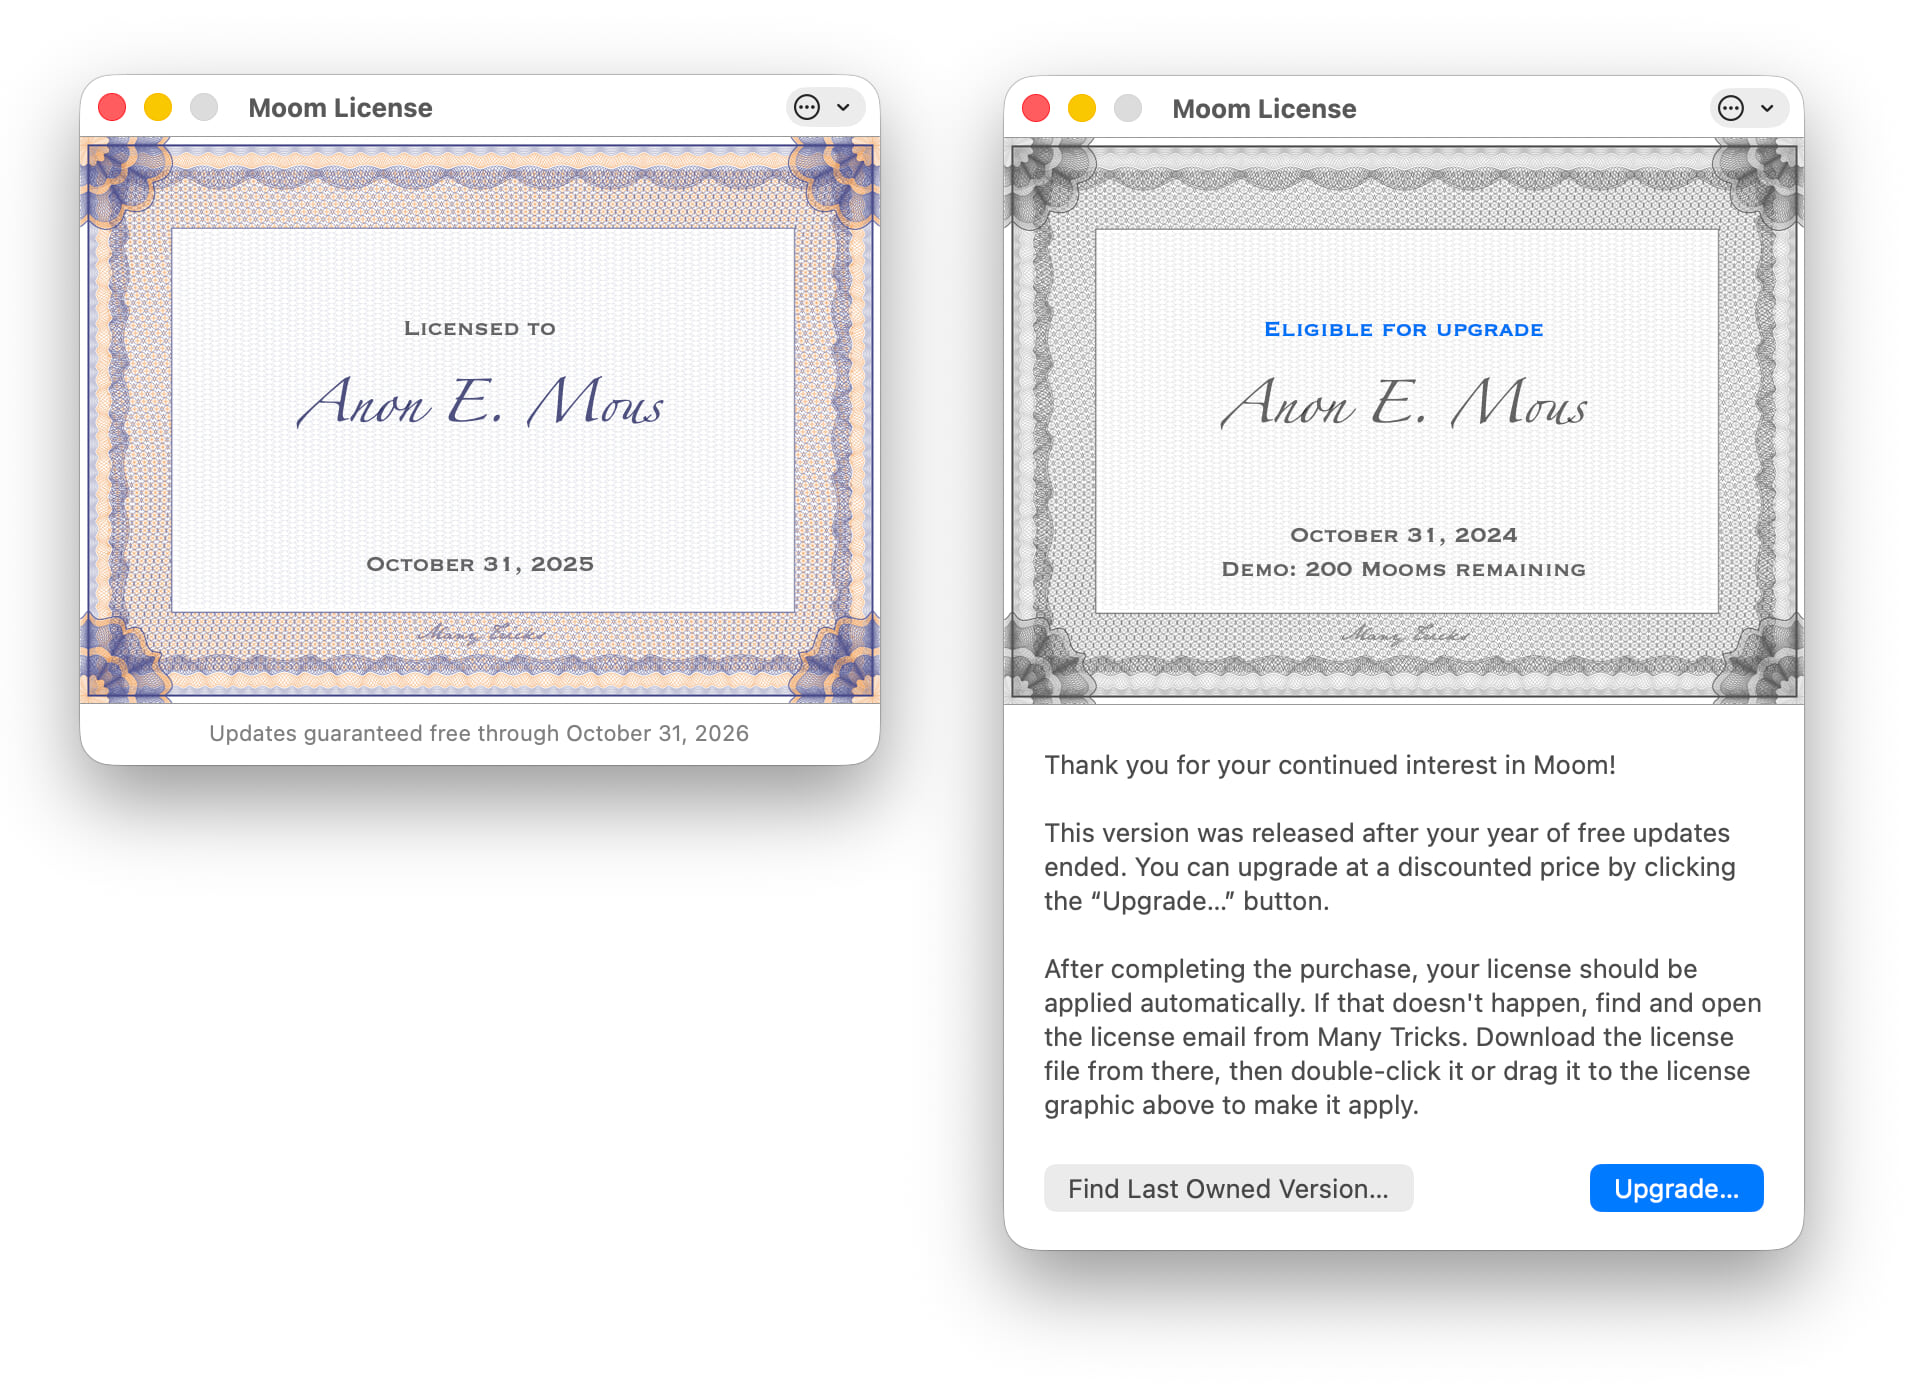
The license on the left is what you'll see if you purchased Moom, or a Moom update, within the last 12 months (license state four in the above list); you get free updates through at least the date shown at the bottom of the window.
The license on the right is what you'll see if you install a version that was released after your free update period ended (license state two above). The text explains what's going on, and the buttons give you two ways to make Moom fully licensed again: Click "Find Last Owned Version," and you'll see this dialog, from which you can easily install your last fully-licensed version:
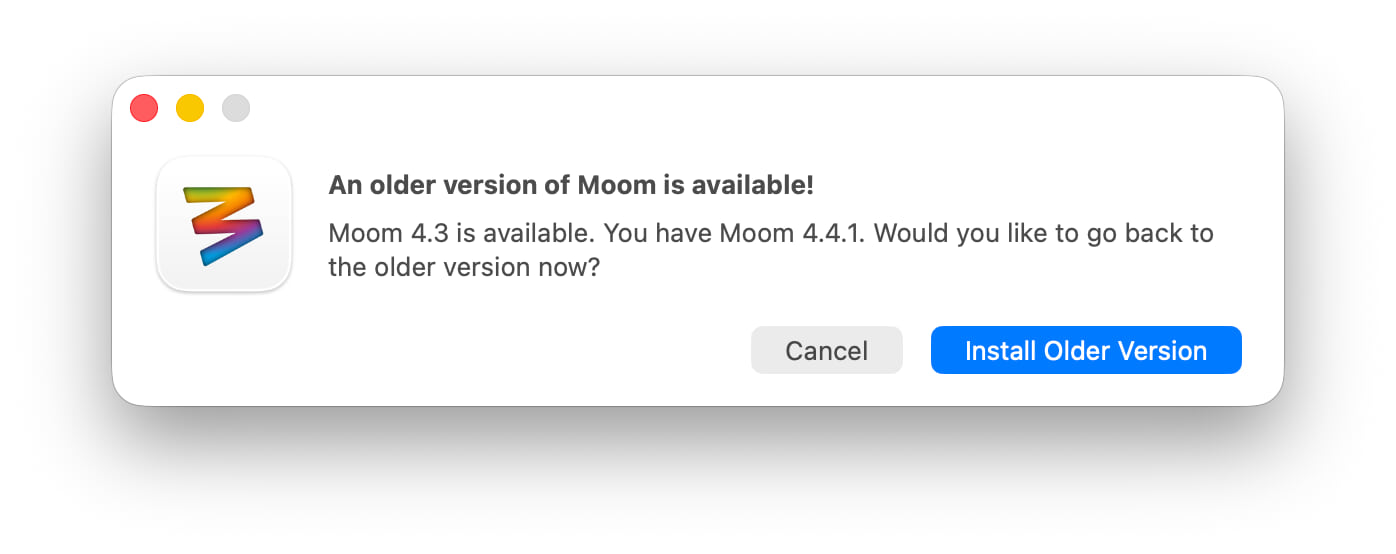
Click Install Older Version, and you'll then be using a fully licensed Moom. Alternatively, from the license window, click the Upgrade button to purchase the update (which will include any prior skipped updates, as well as another year of updates). Personally, we think this is a much better idea!
Create a Combined License File
Many Tricks uses license files for app licensing—there's no long string of license text to copy and paste, and you can easily back up our license files, as they're just small text files. Where this does get a little complicated is if you purchased an upgrade license to Moom 4, as you then need two license files to install Moom on a new Mac: Your Moom 4 upgrade license, and your original Moom 3 license.
The same situation occurs when you purchase a paid Moom update—you'll need the original Moom license and the new update license.
There is, however, a simpler way: When Moom finds an upgrade license file, it creates a new combined license that you can use to license Moom on a new Mac (or after a macOS reinstall, etc.). The easiest way to get this combined license file is to open Moom's License window (Moom menu > Moom > License). Click on the icon at the top right of the window, and you'll see this drop-down menu:

Select Export License…, give your new license file a name and pick a save location, and that's it—the extension on the file will be moomcombolicense, and this is the only file you need to license Moom on a new Mac. Note that you cannot retrieve this license using our license lookup tool, so you should make a backup of it somewhere where you can always get to it (i.e. a cloud folder).